Do you want to prepare a certified, low cost, and powerful device for the IIoT world? Install Ubuntu Server on a Raspberry Pi and you’ll have the starting point to produce a very affordable data acquisition server.
What is Ubuntu Server?

Ubuntu Server is a Linux operating system designed specifically for servers. It’s developed by British company Canonical and runs on all major architectures: x86, x86-64, ARM v7, ARM64, POWER8, and IBM System z mainframes. Unquestionably, it works with nearly any hardware or virtualization platform and can serve up websites, file shares, and containers. Also, its design specifies that there is no real need for a desktop GUI.
What is a Raspberry Pi?
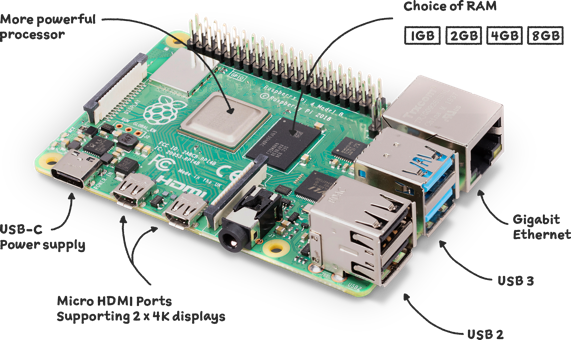
The Raspberry Pi is a low cost, credit-card sized computer. It’s possible to connect a computer monitor or TV to its board, and uses a standard keyboard and mouse. It is a capable little device that enables people of all ages to explore computing, and to learn how to program in languages like Scratch and Python. It’s capable of doing everything you’d expect a desktop computer to do, from browsing the internet and playing high-definition video, to making spreadsheets, word-processing, and playing games. However, the Raspberry Pi can interact with the outside world in many ways, working great as data source for industrial applications.
What is Docker?
In brief, Docker is a software platform that simplifies the process of building, running, managing and distributing applications. It does this by virtualizing the operating system of the computer on which it is installed and running.
Prerequisites
Firstly, you’ll need:
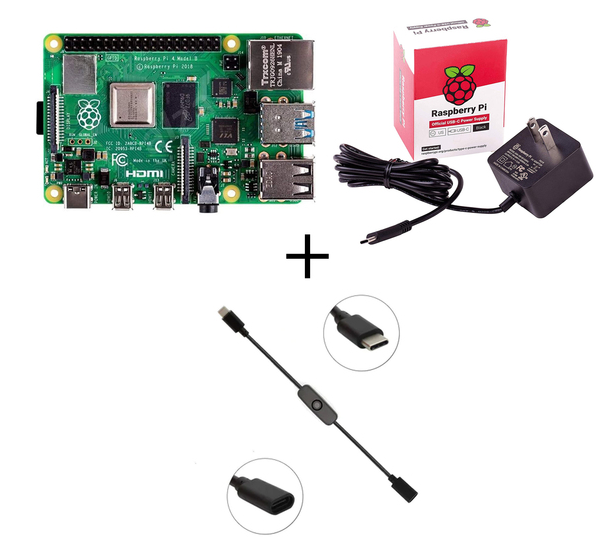
- Raspberry Pi 3 or 4 🍇
- MicroSD card 💳
- Power supply 🔌
- Wi-Fi or Ethernet cable 📶
Additionally, you could use:
- Raspberry Pi case 📦
- USB keyboard ⌨️
- USB mouse 🖱️
- HDMI cable ➰
- Monitor 📺
Install Ubuntu Server on a Raspberry Pi
With the help of this guide, you’ll learn how to install the Ubuntu Server operating system on a Raspberry Pi. You’ll see screenshots and commands to run. Let’s begin:
Download and install Raspberry Pi Imager
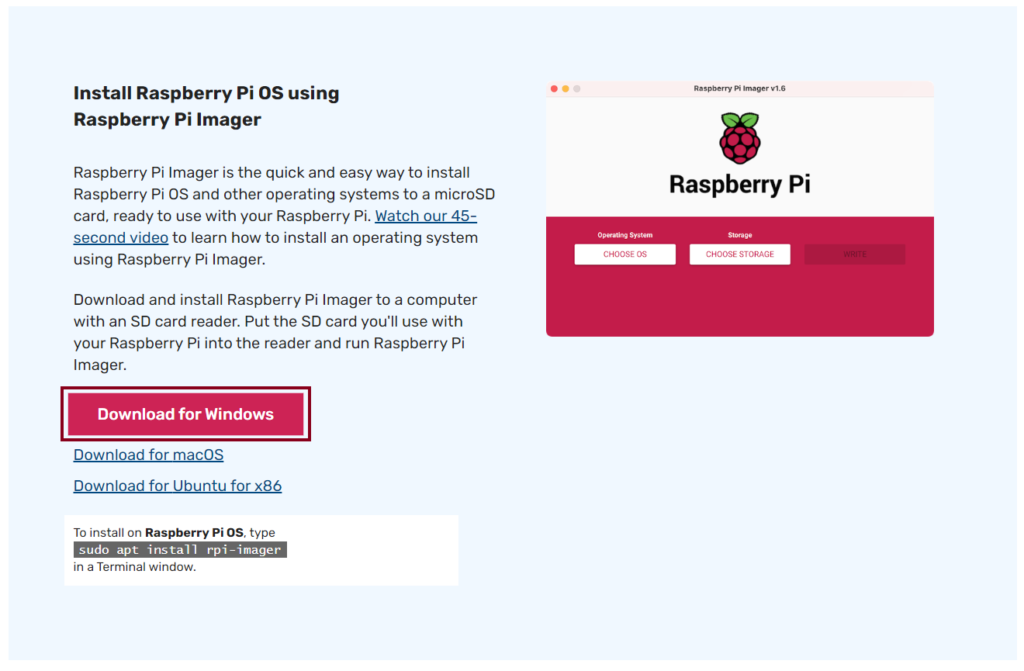
- At first, go here, identify section “Install Raspberry Pi OS using Raspberry Pi Imager” and click the “Download for Windows” button to get the installer file (we’ll be using Windows 10).
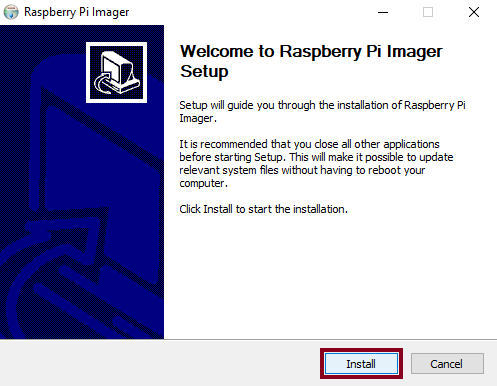
- As soon as you download the file, run the installer and press the “Install” button.
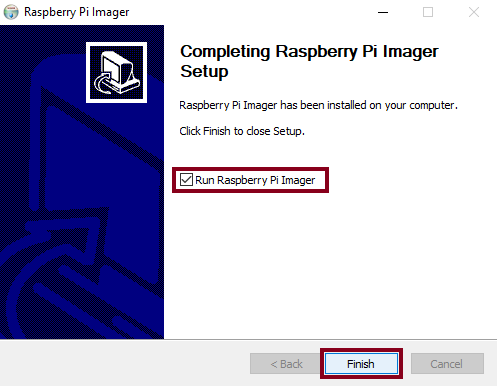
- After that, check the “Run Raspberry Pi Imager” box and press the “Finish” button.
Write Ubuntu Server on a MicroSD card
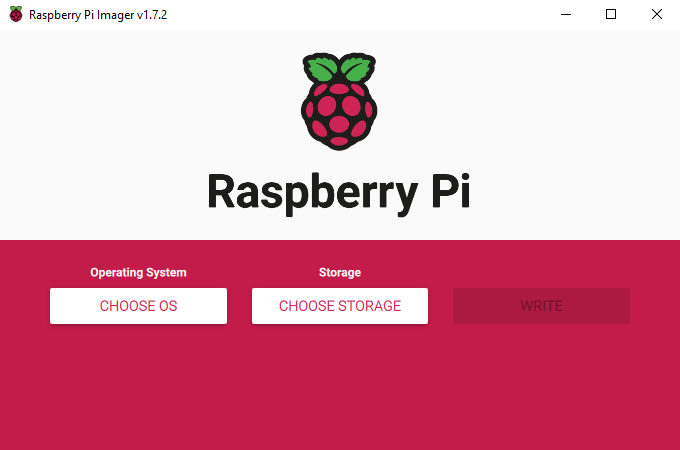
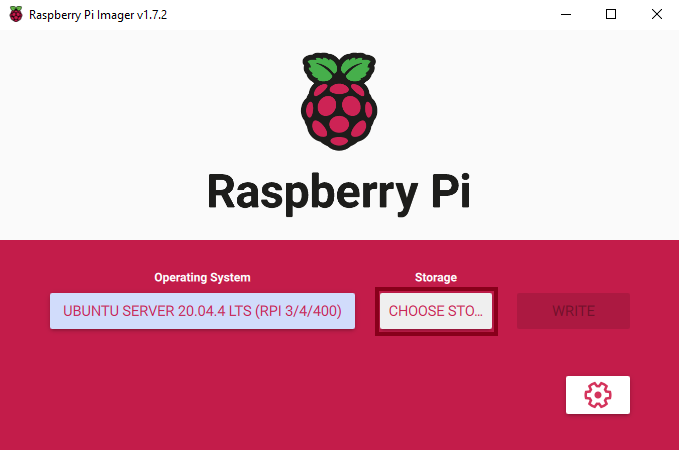
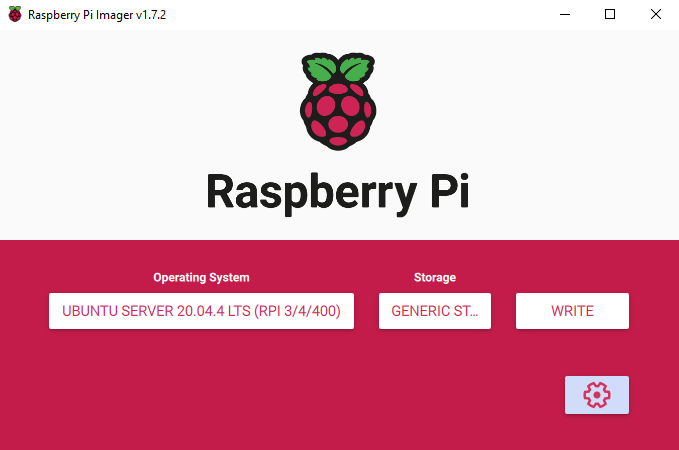
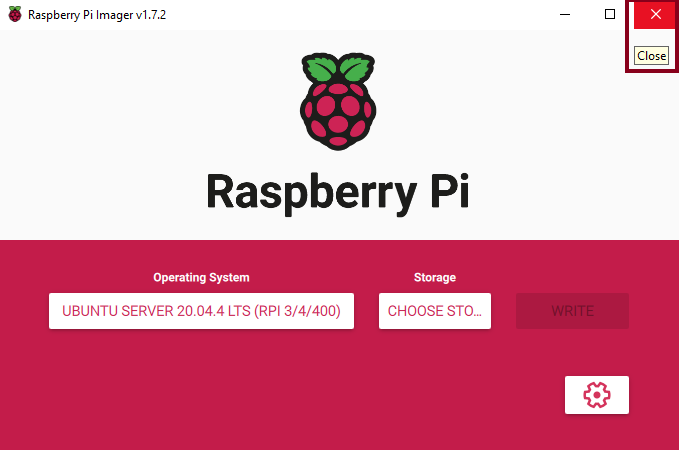
- Following this, take notice of the Raspberry Pi Imager GUI (v1.7.2).
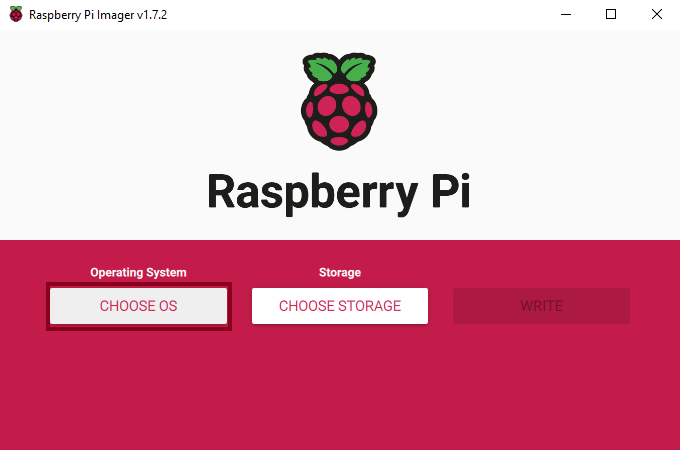
- After that, press the “CHOOSE OS” button to start selecting the operating system.
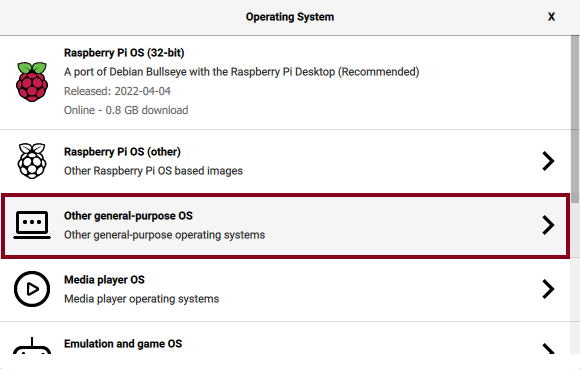
- At this instant, select “Other general-purpose OS”.
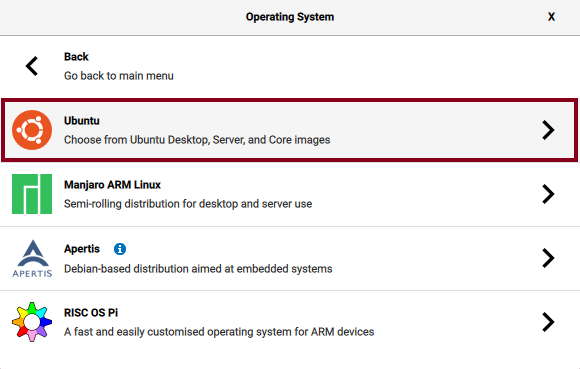
- Then, choose “Ubuntu”.
- For this tutorial, we’ll be using “Ubuntu Server 20.04.4 LTS”.
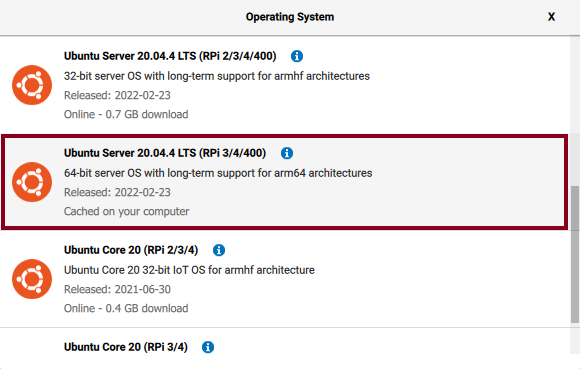
- To illustrate, make sure the selection is “UBUNTU SERVER 20.04.4 LTS (RPI 3/4/400)”.
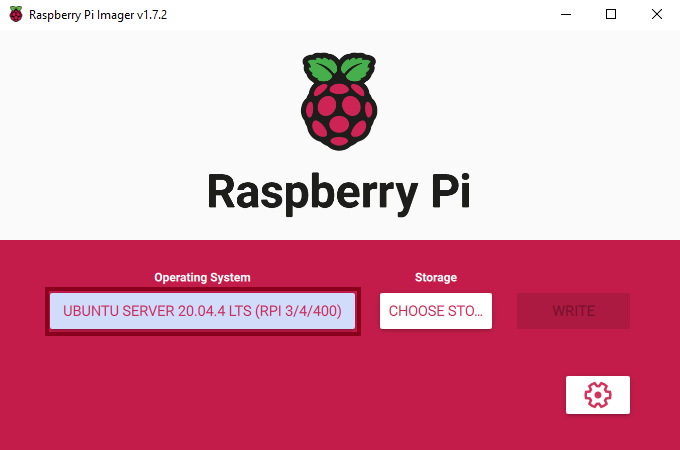
- Press the “CHOOSE STORAGE” button to start selecting where to store the operating system.
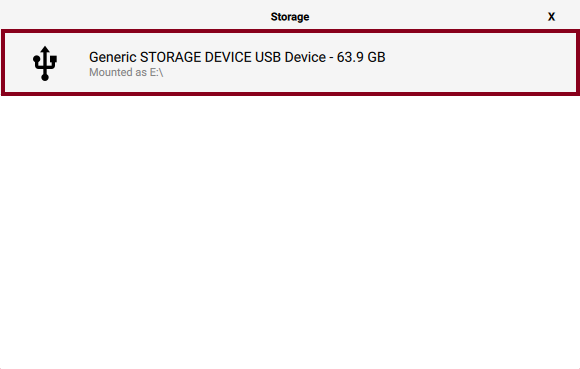
- In the “Storage” window, select the mounted available unit (I’m using a USB converter with the MicroSD card).
- Once the storage is selected, press the “cog” button to configure the write operation.

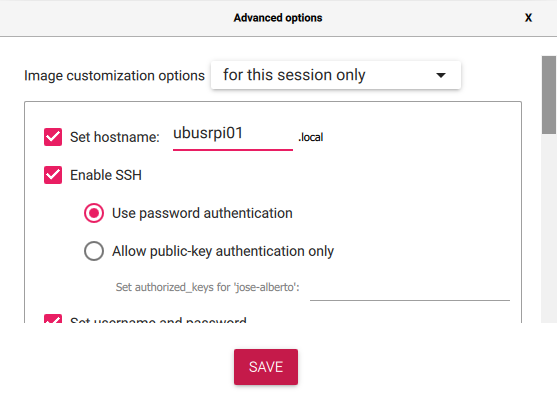
- So, in the part 1 of the “Advanced options” window, set the appropriate hostname and enable SSH communication.
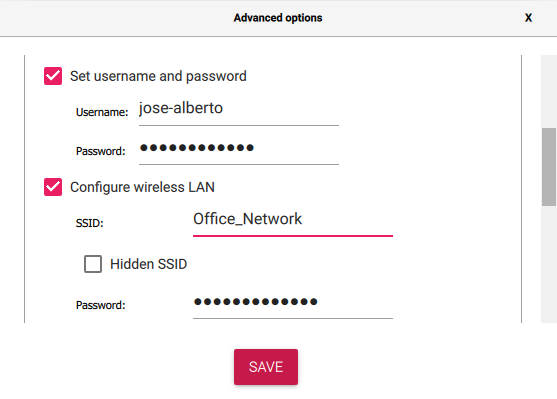
- In the part 2 of the “Advanced options” window, set the appropriate user credentials and configure wireless LAN.
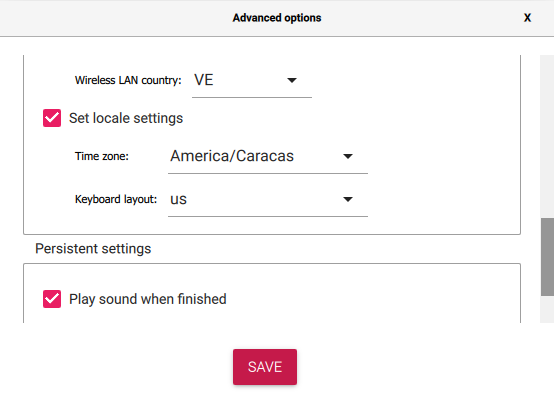
- In the part 3 of the “Advanced options” window, set the locale settings.
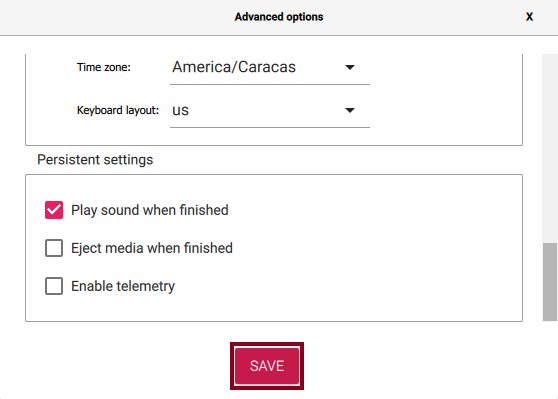
- In the part 4 of the “Advanced options” window, set the persistent settings and press the “SAVE” button to continue.
- Later, confirm all selections.
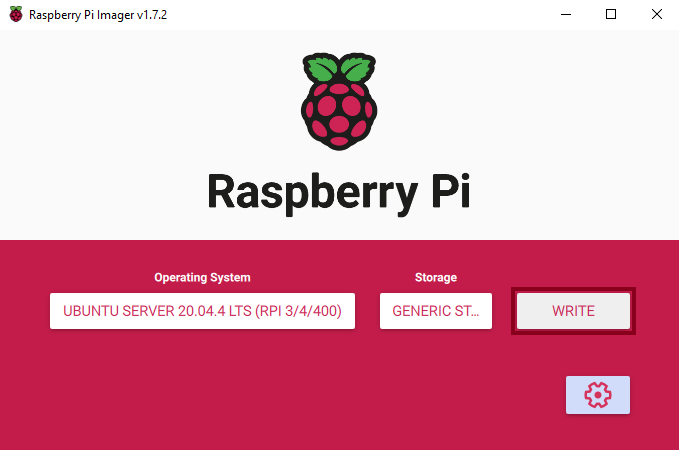
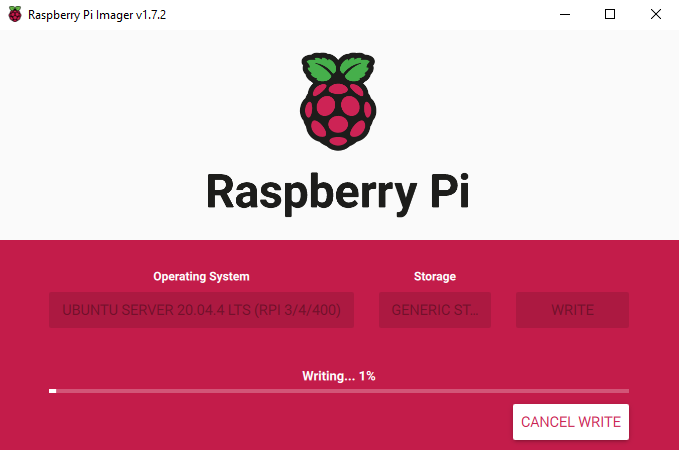
- In order to continue, press the “WRITE” button to start writing the chosen operating system on the selected storage.
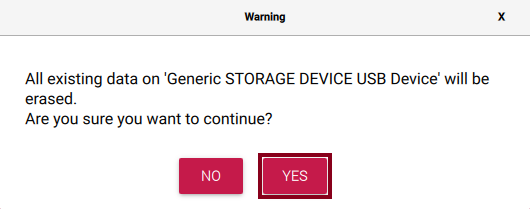
- Press the “YES” button to continue and accept the warning about deletion of all existing data.
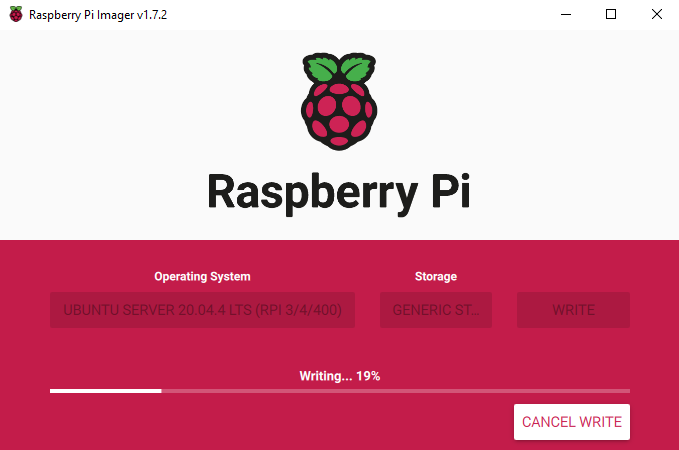
- Wait while the writing process is completed.
- Also, wait while the writing process is verified.

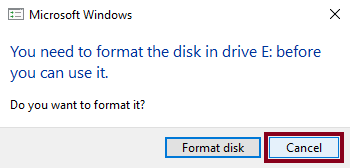
- Press the “Cancel” button if you see this window (there is no need to format it).
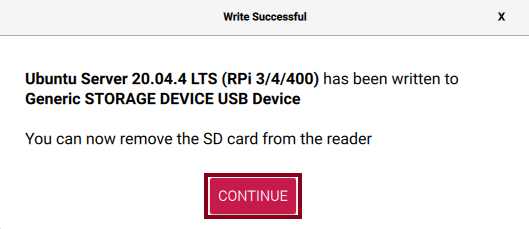
- Confirm the writing process is successful, press the “CONTINUE” button and remove the MicroSD card from the USB converter.
- Close the Raspberry Pi Imager.
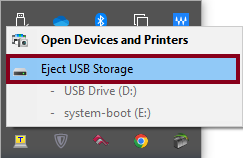
- Proceed to eject the USB storage.
Run Ubuntu Server on a Raspberry Pi
- Plug the MicroSD card into the Raspberry Pi socket.

- Power up the Raspberry Pi and wait, at least 10 minutes, while the operating system is loaded and updated.
- Locally in the Raspberry Pi, find out your assigned IP address by running:
$ hostname -I
192.168.1.167- From a remote workstation, access the Raspberry Pi using SSH and confirm the authenticity of the host by running:
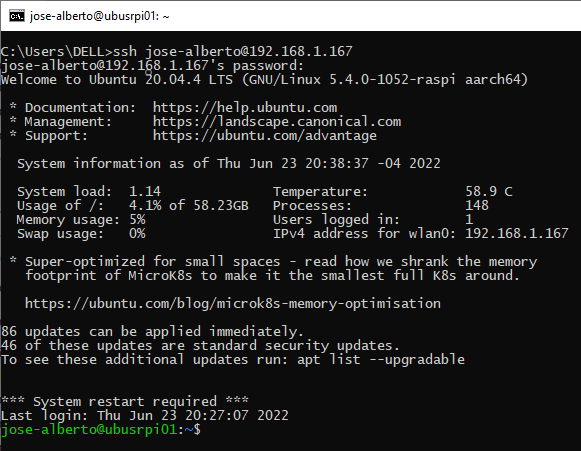
ssh jose-alberto@192.168.1.167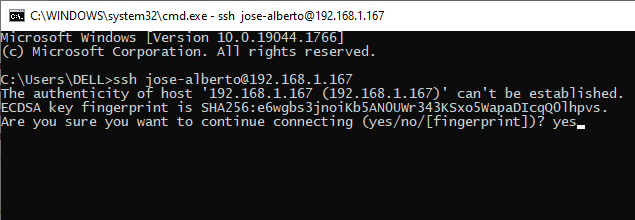
- Check the system output and watch that some updates can be applied immediately.
- Restart the Raspberry Pi to apply updates by running:
$ sudo shutdown -r now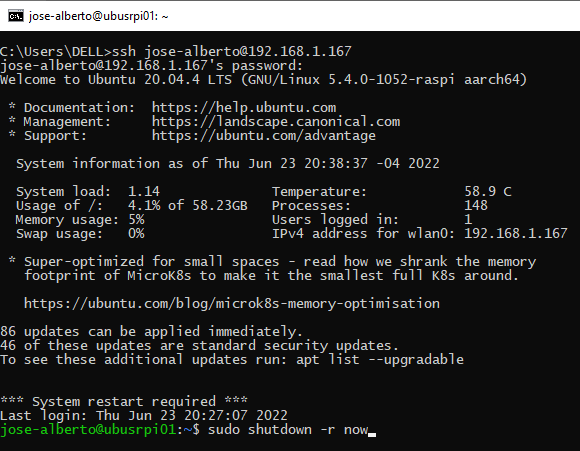
Update and upgrade Ubuntu Server
- After the reboot, reconnect to the Raspberry Pi using SSH and update the software packages list by running:
$ sudo apt update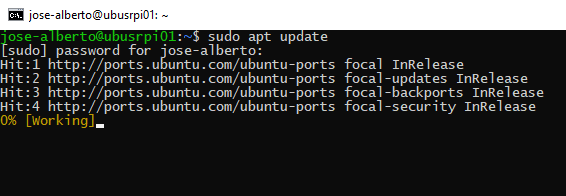
- Upgrade your Ubuntu distribution by running:
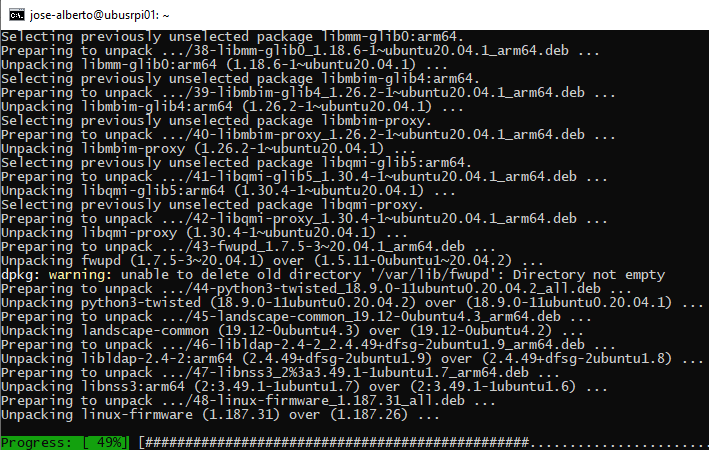
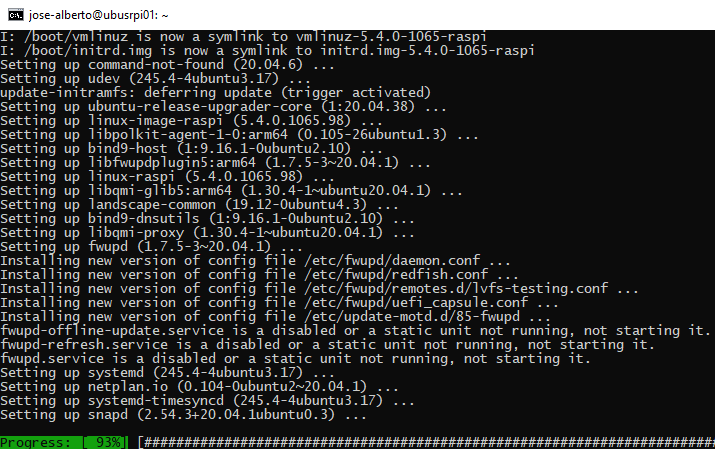
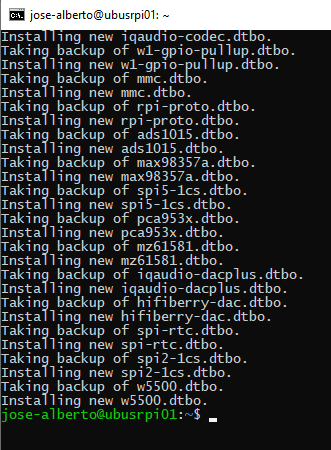
$ sudo apt upgrade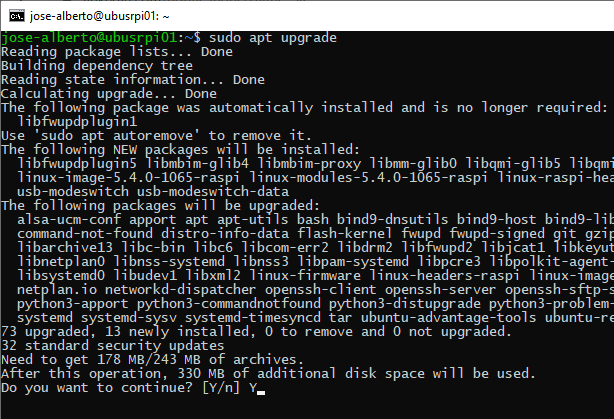

- Meanwhile, you should wait for the preparing, unpacking and installing of software packages.
- Clean the distribution for not used packages by running:
$ sudo apt autoremove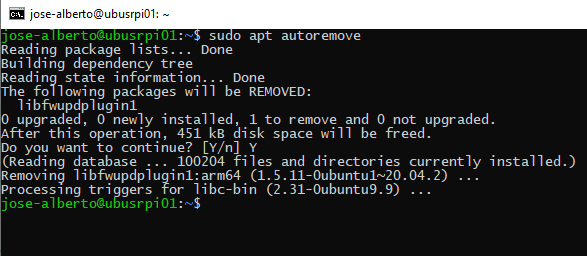
Install Docker
- Download shell script for Docker installation by running:
$ curl -fsSL https://get.docker.com -o get-docker.sh
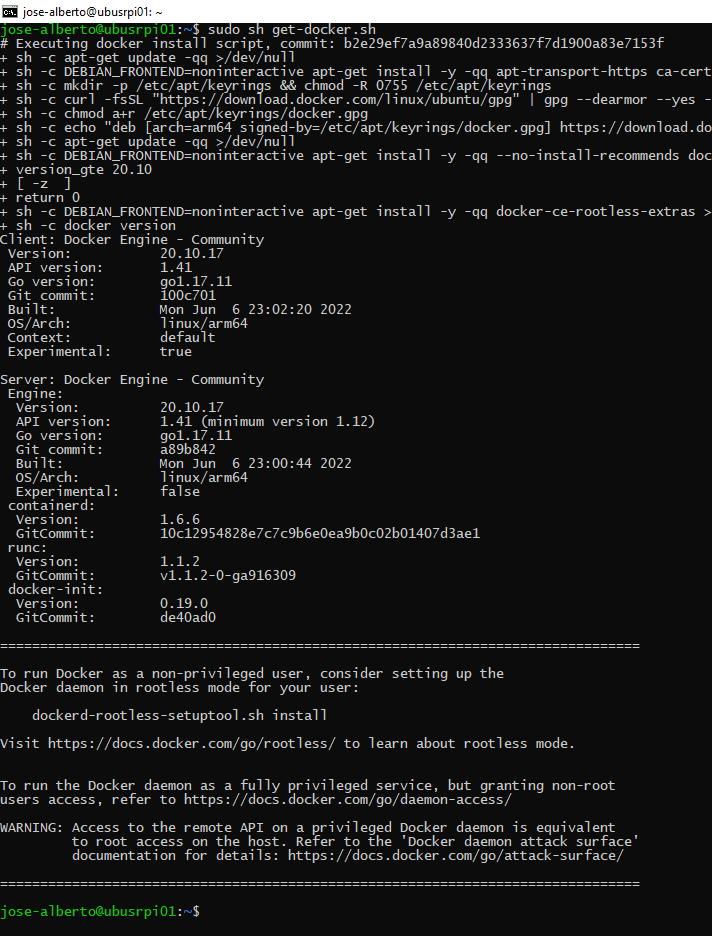
- Run Docker installation script with:
$ sudo sh get-docker.sh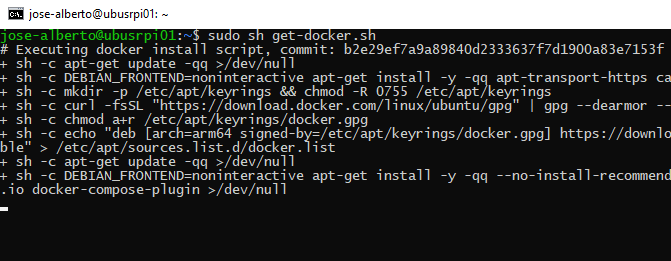
- See Docker installation details:
- Add a valid user to the “docker” group by running:
$ sudo usermod -aG docker jose-alberto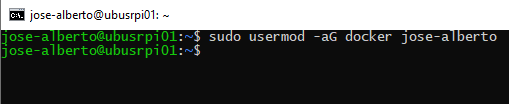
- Change permissions to Docker socket by running:
$ sudo chmod 666 /var/run/docker.sock
- Also, inspect Docker version details by running:
$ docker version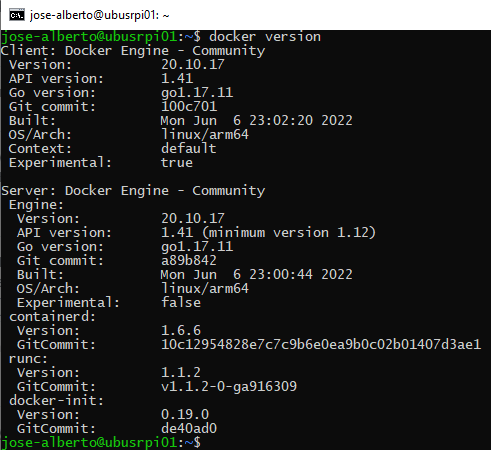
- Finally, get more Docker information by running:
$ docker info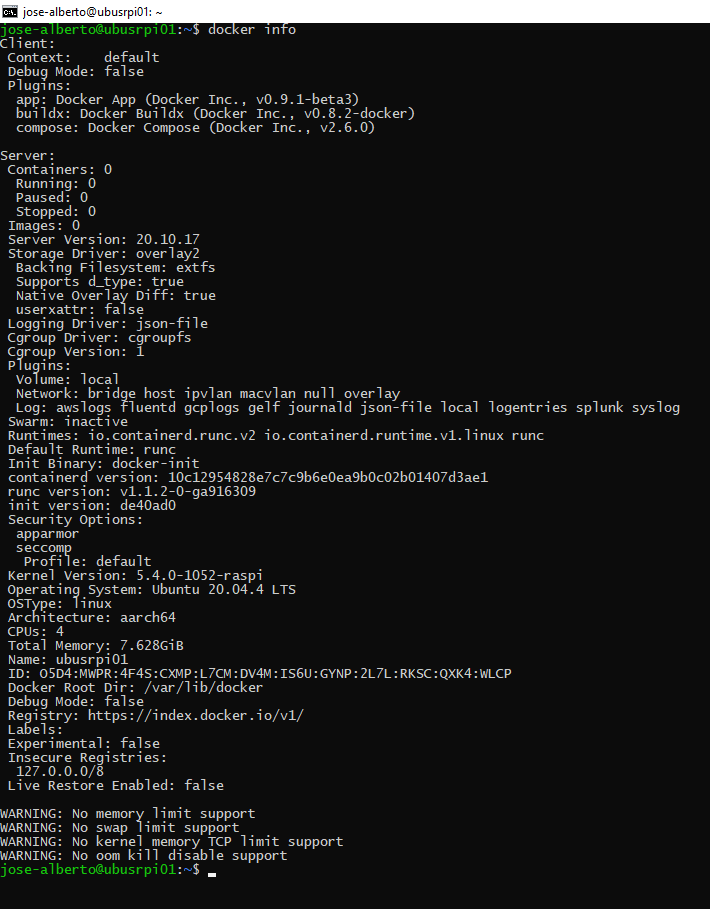
At this point, you have a device that’s ready to run some magic. It has Ubuntu, along with Docker.
Did you enjoy this “Install Ubuntu Server on a Raspberry Pi” guide? I’d love to hear from you.
For other articles like this one in English, click here. To see them in Spanish, click here.