Do you want to improve your Docker container management with a graphical user interface? Install Portainer on a Raspberry Pi and learn how to do it!
What is Portainer?

Portainer is a free and open-source container management tool with a graphical user interface (GUI) for running Docker containers. Using a GUI can make it easier for you to manage Docker containers, especially for those users unfamiliar with the command line.
What is a Raspberry Pi?
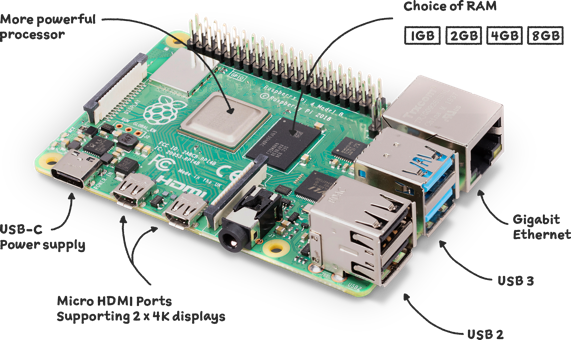
The Raspberry Pi is a low cost, credit-card sized computer. It’s possible to connect a computer monitor or TV to its board, and uses a standard keyboard and mouse. It is a capable little device that enables people of all ages to explore computing, and to learn how to program in languages like Scratch and Python. It’s capable of doing everything you’d expect a desktop computer to do, from browsing the internet and playing high-definition video, to making spreadsheets, word-processing, and playing games. However, the Raspberry Pi can interact with the outside world in many ways, working great as data source for industrial applications.
Why Portainer on a Raspberry Pi?
Certainly, there are several reasons why Portainer on a Raspberry Pi is a great option. As a web-based GUI, Portainer makes it easy to manage your Docker containers in one place and to learn the basic concepts quickly. You can create, start, stop, and delete containers with just a few clicks. Also, it is secure due to the use of HTTPS and 2FA, and it is flexible enough for a wide variety of Docker containers, both Linux and Windows. Lastly, Portainer has a large and active community that can help you if you get stuck. There are many forum posts, blog articles, and tutorials available to help you learn how to use Portainer.
Prerequisites
Firstly, you’ll need:
- Installation of Ubuntu Server on a Raspberry Pi post with Docker 📓
- Raspberry Pi 3 or 4 🍇
- MicroSD card 💳
- Power supply 🔌
- Wi-Fi or Ethernet cable 📶
Additionally, you could use:
- Raspberry Pi case 📦
- USB keyboard ⌨️
- USB mouse 🖱️
- HDMI cable ➰
- Monitor 📺
Connect to your Raspberry Pi
- Above all, make sure to follow the previous post here.
- On the other hand, make sure your Raspberry Pi 4 is powered on and connected to your local network.

- Later, from a remote Windows workstation, access the Raspberry Pi using SSH by running:
ssh jose-alberto@192.168.1.167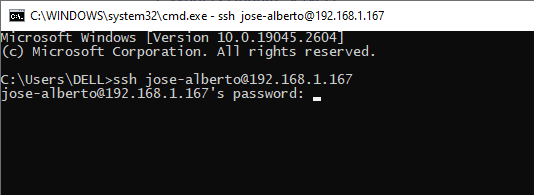
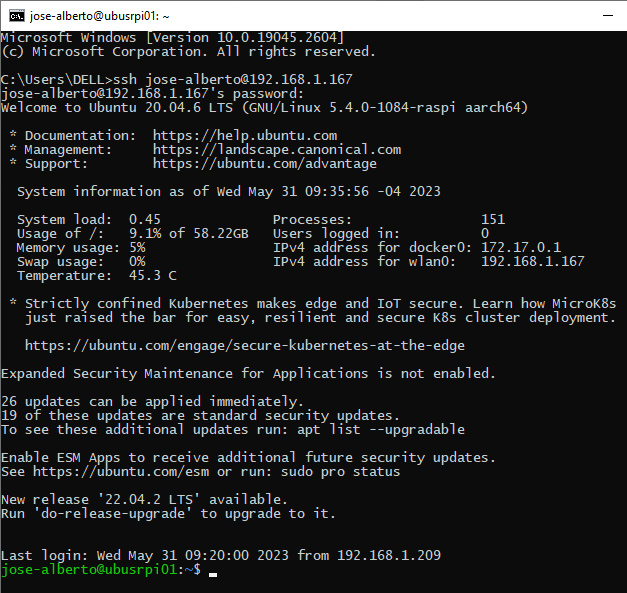
- Following this, check the system output and watch that some updates can be applied immediately.
Update and upgrade Ubuntu Server
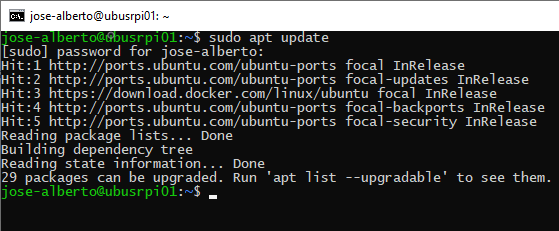
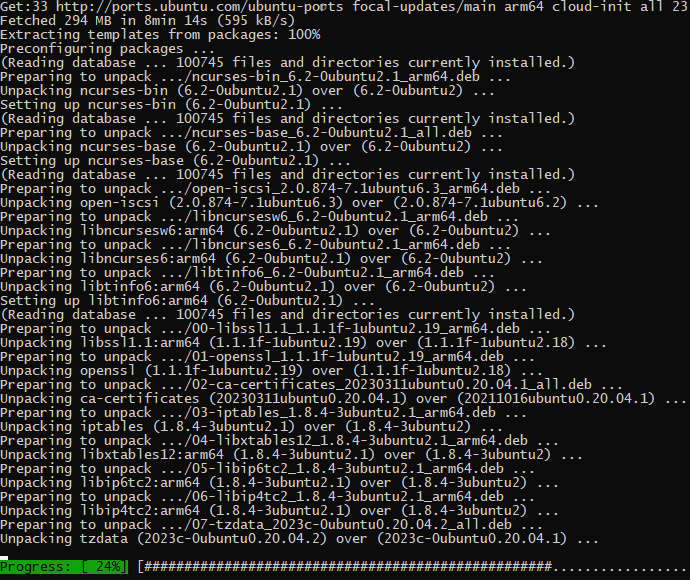
- After that, update the software packages list by running:
$ sudo apt update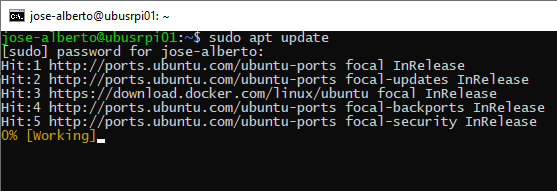
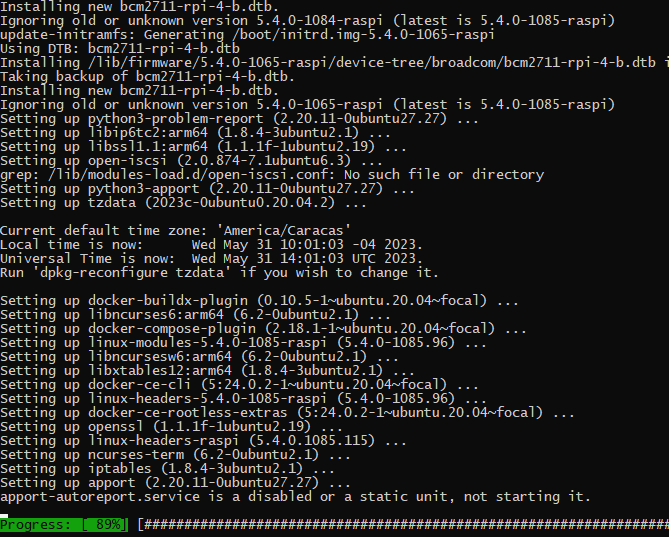
- At this point, upgrade your Ubuntu distribution by running:
$ sudo apt upgrade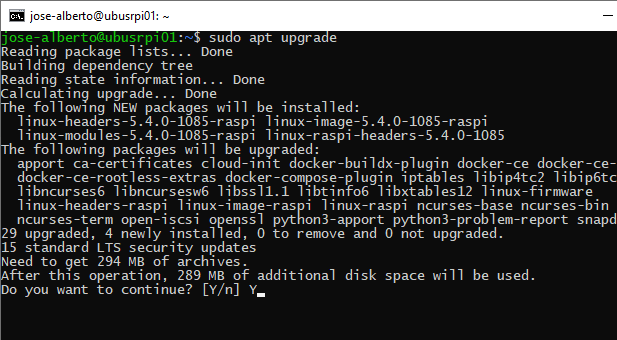
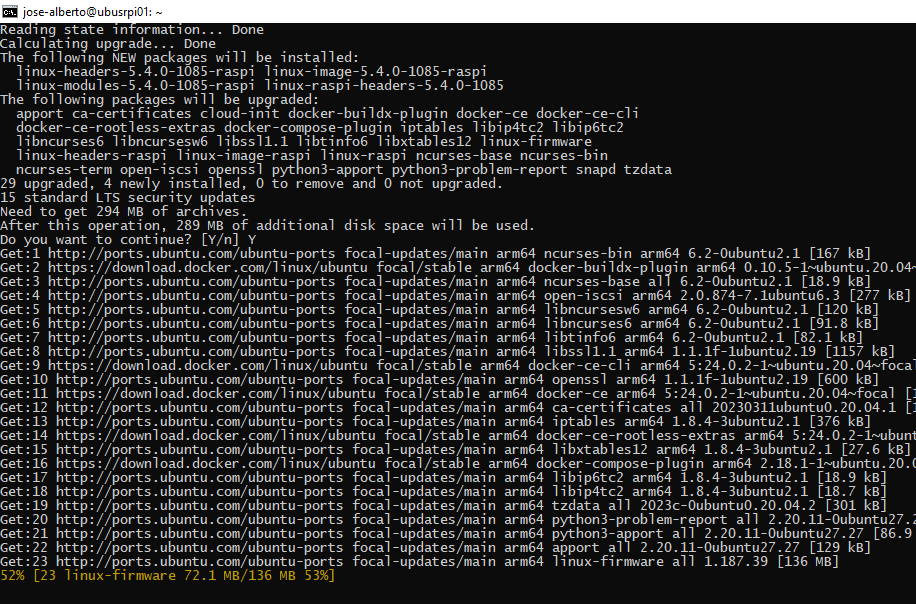
- Meanwhile, wait for the preparing, unpacking and installing of software packages.
- Simultaneously, clean the distribution for not used packages by running:
$ sudo apt autoremove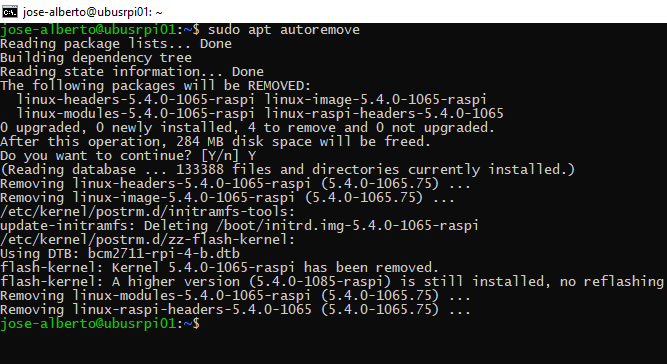
- Also, confirm your Docker version by running:
$ docker version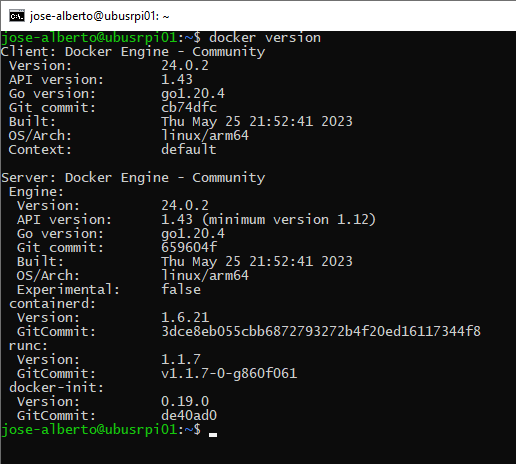
- Finally, get more Docker information by running:
$ docker info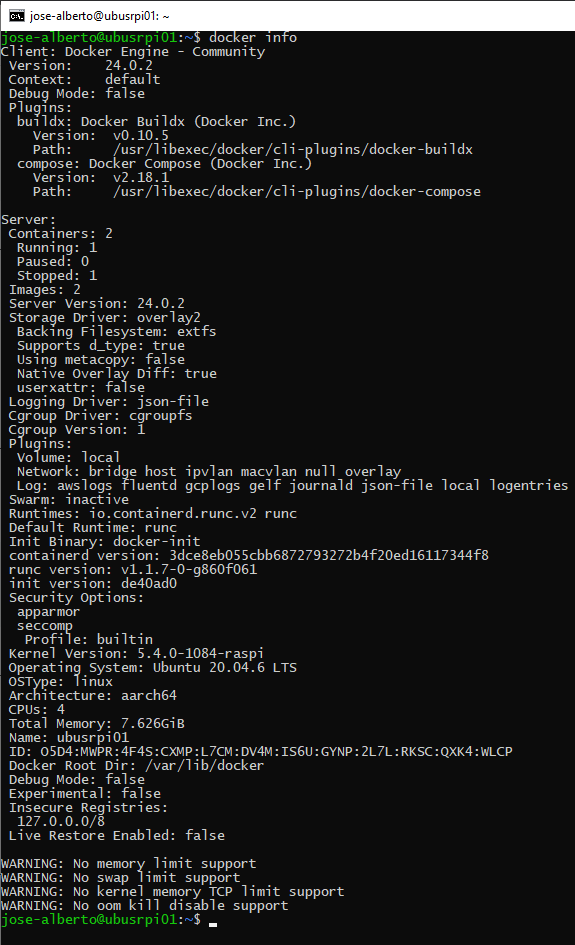
Create your Docker configuration folders
- Firstly, create your main Docker configuration folder as root user by running:
$ sudo mkdir /docker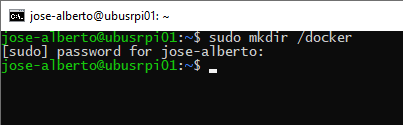
- After that, confirm the creation of the folder by running:
$ ls -al /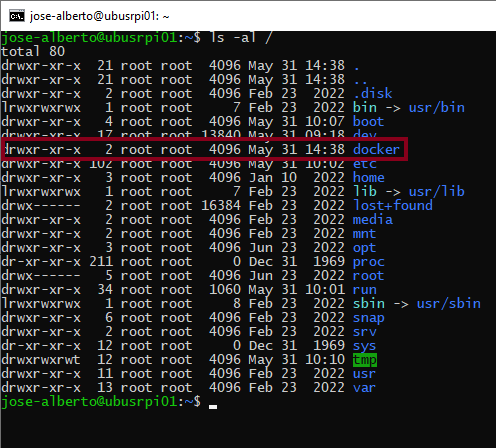
- However, you must take ownership of the new folder by typing:
$ sudo chown jose-alberto /docker
- At this point, confirm the change of folder ownership by running:
$ ls -al /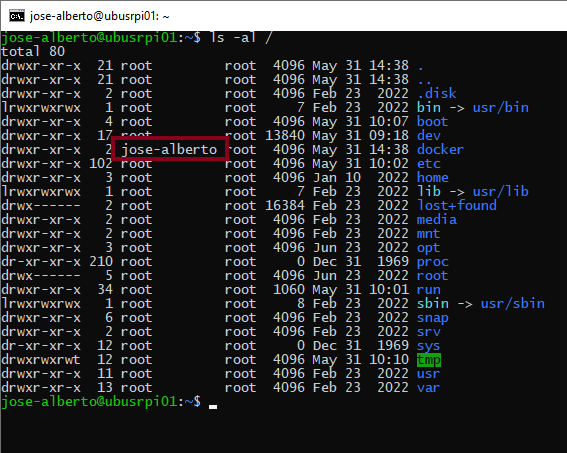
Run Portainer as a Docker container
- Initially, create “portainer” and “portainer/data” folders within “docker”:
$ mkdir /docker/portainer
$ mkdir /docker/portainer/data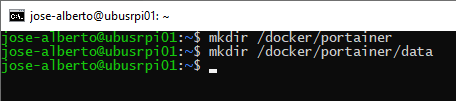
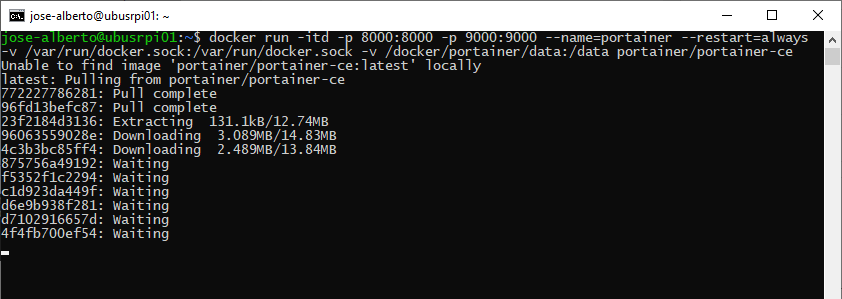
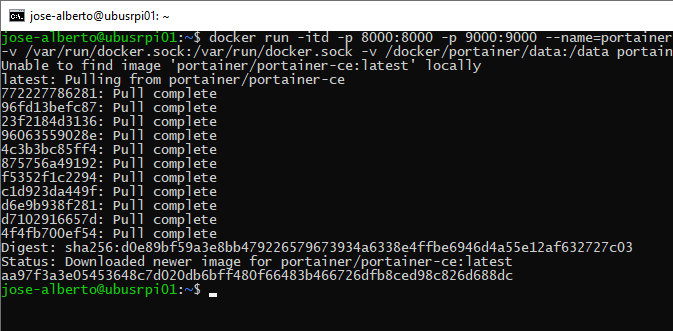
- Then, download, install and run the “portainer” Docker container by typing:
$ docker run -itd -p 8000:8000 -p 9000:9000 --name=portainer --restart=always -v /var/run/docker.sock:/var/run/docker.sock -v /docker/portainer/data:/data portainer/portainer-ce
Run other Docker containers
- At this time, create “nodered” and “nodered/data” folders to install Node-RED:
$ mkdir /docker/nodered
$ mkdir /docker/nodered/data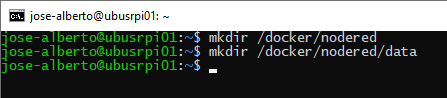
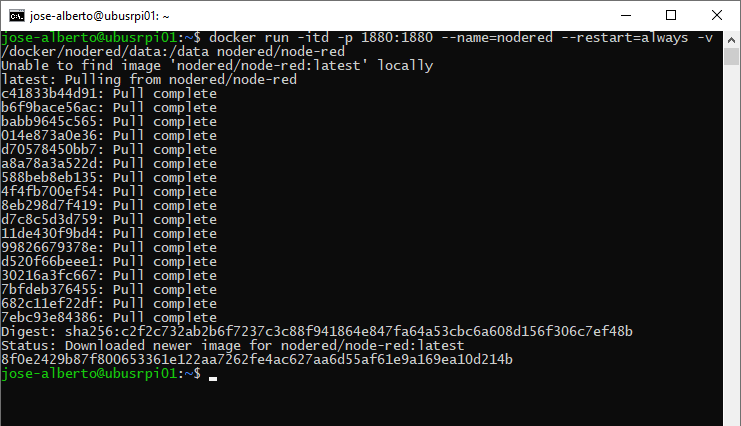
- Similarly, download, install and run the “nodered” Docker container by typing:
$ docker run -itd -p 1880:1880 --name=nodered --restart=always -v /docker/nodered/data:/data nodered/node-red

- At this point, create “influxdb” and other related folders to install InfluxDB:
$ mkdir /docker/influxdb
$ mkdir /docker/influxdb/var
$ mkdir /docker/influxdb/var/lib
$ mkdir /docker/influxdb/var/lib/influxdb
$ mkdir /docker/influxdb/etc
$ mkdir /docker/influxdb/etc/influxdb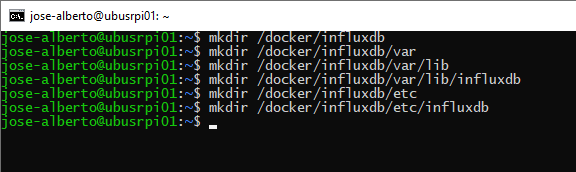
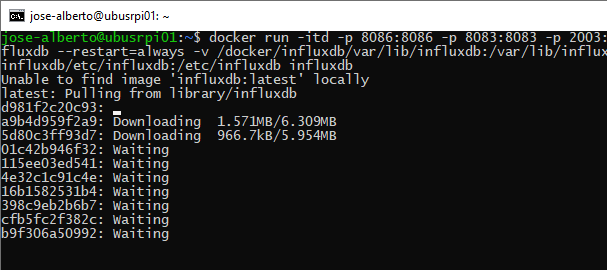
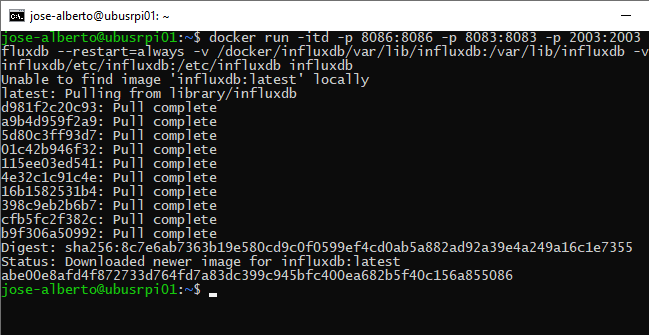
- Identically, download, install and run the “influxdb” Docker container by typing:
$ docker run -itd -p 8086:8086 -p 8083:8083 -p 2003:2003 --name=influxdb --restart=always -v /docker/influxdb/var/lib/influxdb:/var/lib/influxdb -v /docker/influxdb/etc/influxdb:/etc/influxdb influxdb
- In addition, check your InfluxDB version by running:
$ docker exec -it influxdb influxd version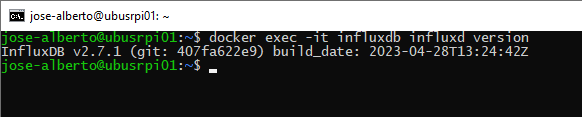
- On this occasion, create “grafana” and other related folders to install Grafana:
$ mkdir /docker/grafana
$ mkdir /docker/grafana/var
$ mkdir /docker/grafana/var/lib
$ mkdir /docker/grafana/var/lib/grafana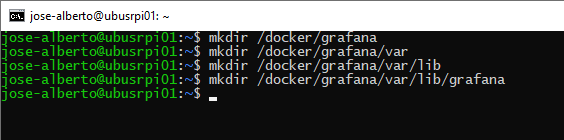
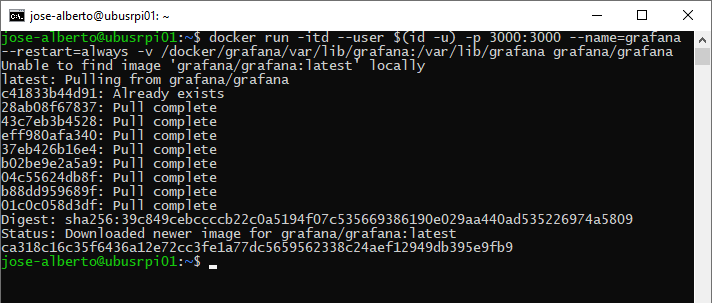
- Equally to previous sections, download, install and run the “grafana” Docker container by typing:
$ docker run -itd --user $(id -u) -p 3000:3000 --name=grafana --restart=always -v /docker/grafana/var/lib/grafana:/var/lib/grafana grafana/grafana

- Of course, check Docker containers by running:
$ docker ps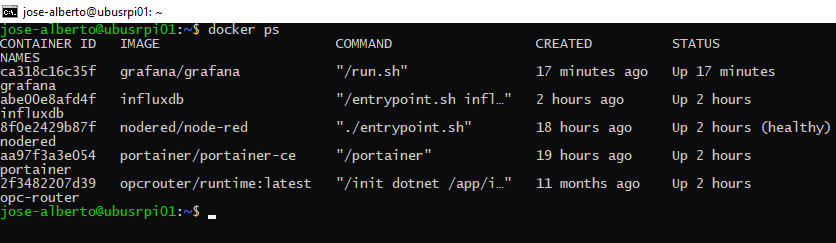
Getting started with Portainer
At this point, are you ready to manage your Docker containers in a more visual way and forget the command line? Well, I am 🙂
Log in to Portainer
- Initially, open a web browser and type your Raspberry Pi’s IP address with the Portainer port (9000):
http://192.168.1.167:9000/
- It’s important to realize that, if by any chance you get this screen, go to the console and restart your Portainer container by typing:

$ docker restart portainer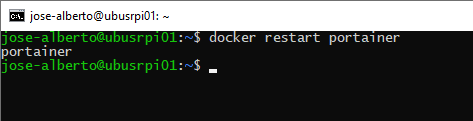
- After that, reload your tab and confirm this new screen:
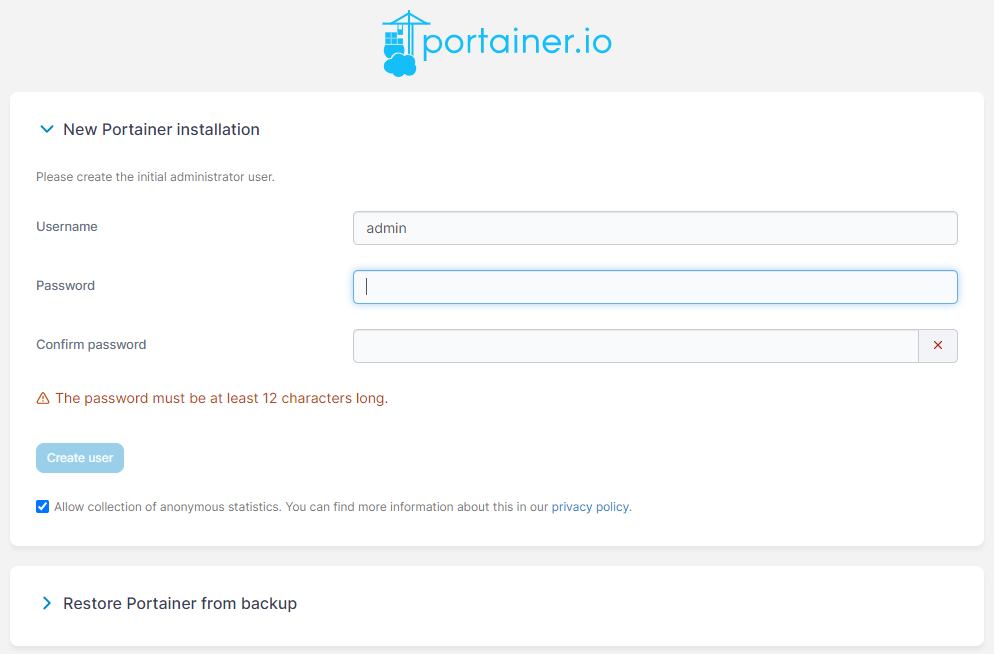
Create the first user
- Enter and confirm a password for the initial administrator user called “admin”. Then, press the “Create user” button:
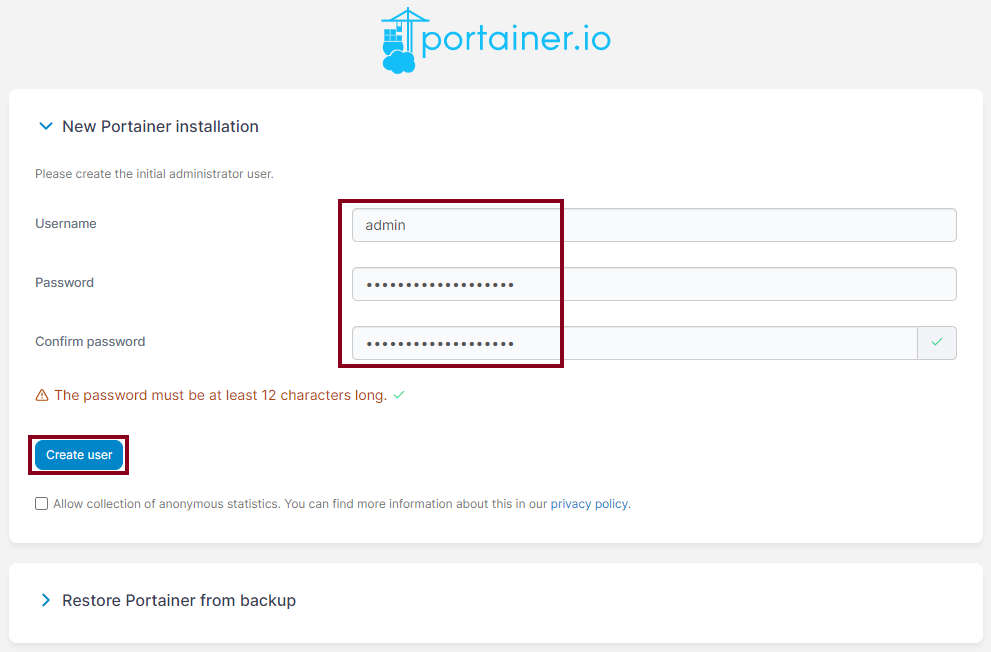
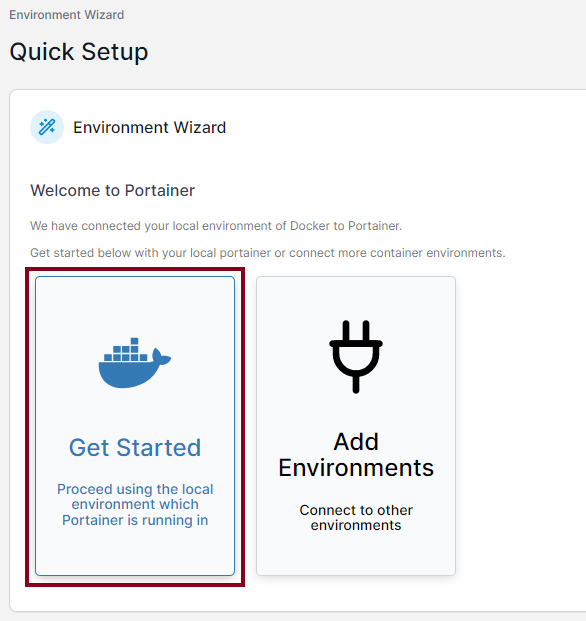
- As a result, confirm you see the “Environment Wizard” page:

Review your local Docker environment
- At this instant, press the “Get Started” button to proceed to the local environment of Docker:
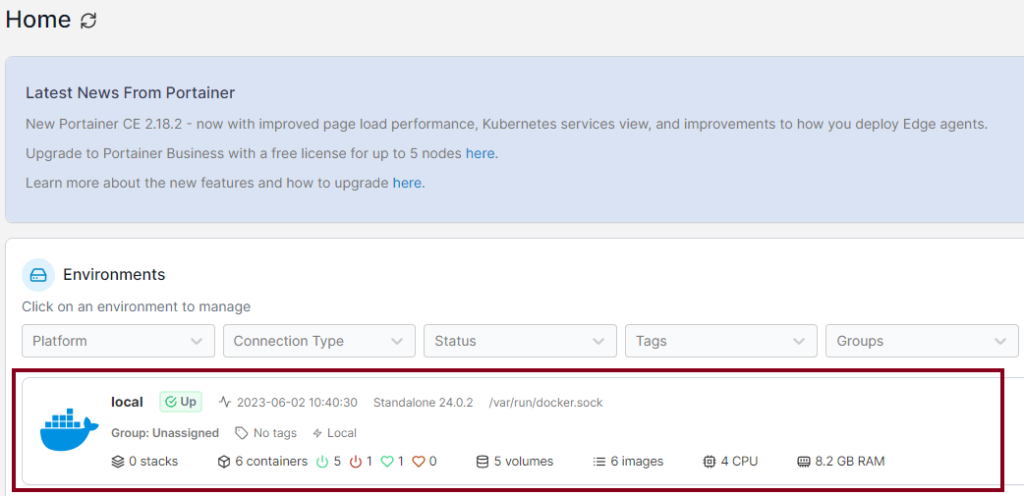
- At this time, you can verify the status of your local environment:
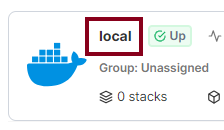
- Then, inspect the local environment by clicking on the tag:
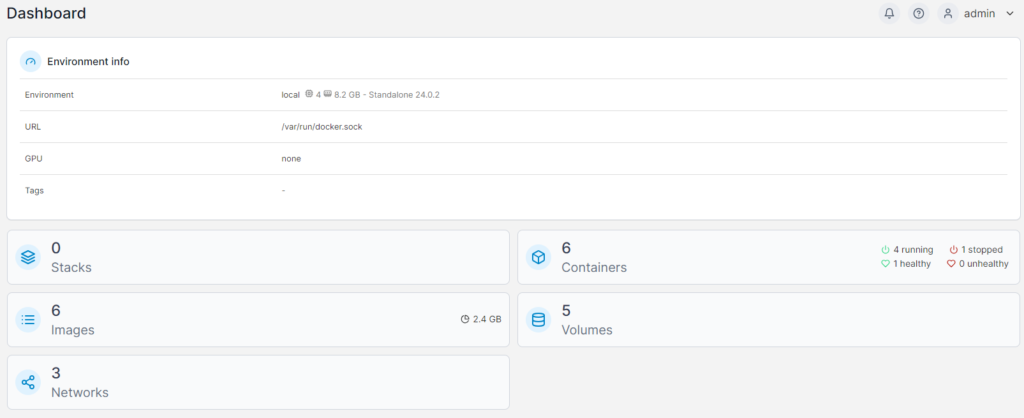
- Of course, watch the summary from the Docker dashboard:
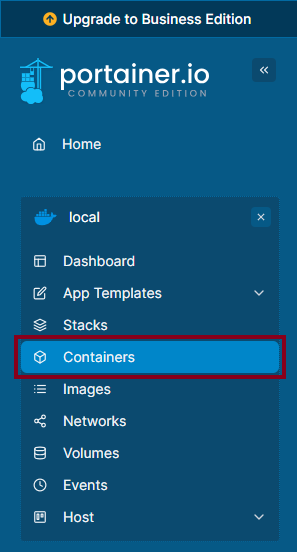
List containers
- Later, click “Containers” to list all Docker containers in your environment:

- Watch the window with the list of Docker containers:
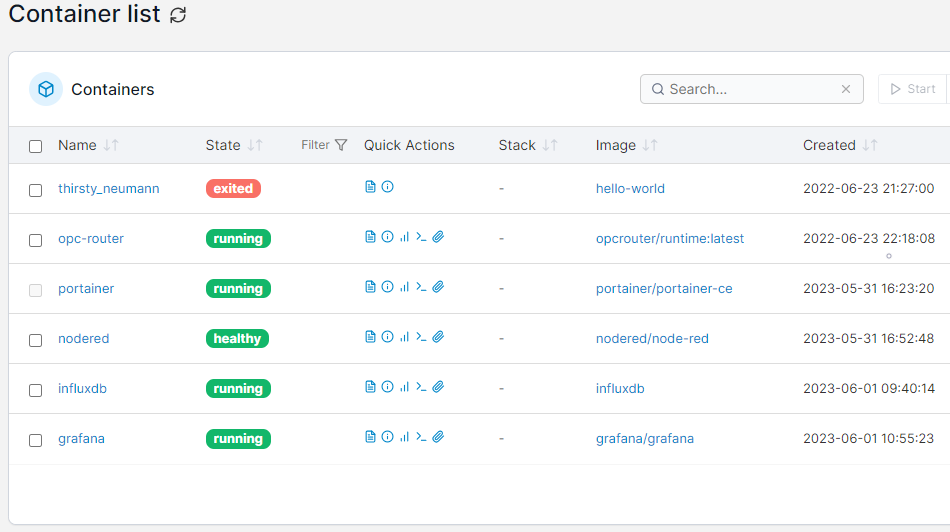
- Check the box of any container row and focus on the action buttons:


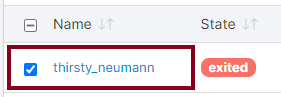
Remove a container
- For example, go back and select the first row:
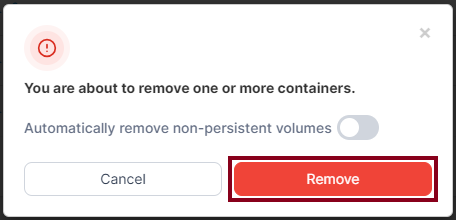
- Then, press the “Remove” button to delete it:

- At this point, see the warning and confirm the action by clicking the “Remove” button:
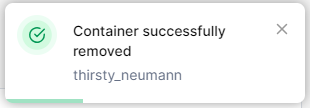
- Finally, see the confirmation dialog:
Inspect a container
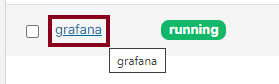
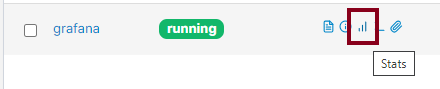
- For instance, choose the “grafana” container which has a “running” status:
- Then, check in the “Actions” section. You can start, stop, kill, restart, pause, resume, remove and recreate the container from these buttons.

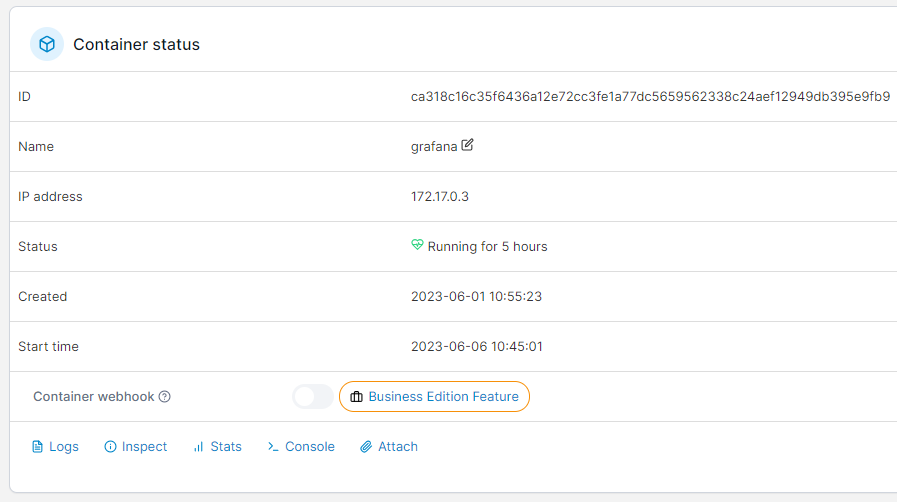
- Later, verify the “Container status” and “Container details” sections where other details are shown:
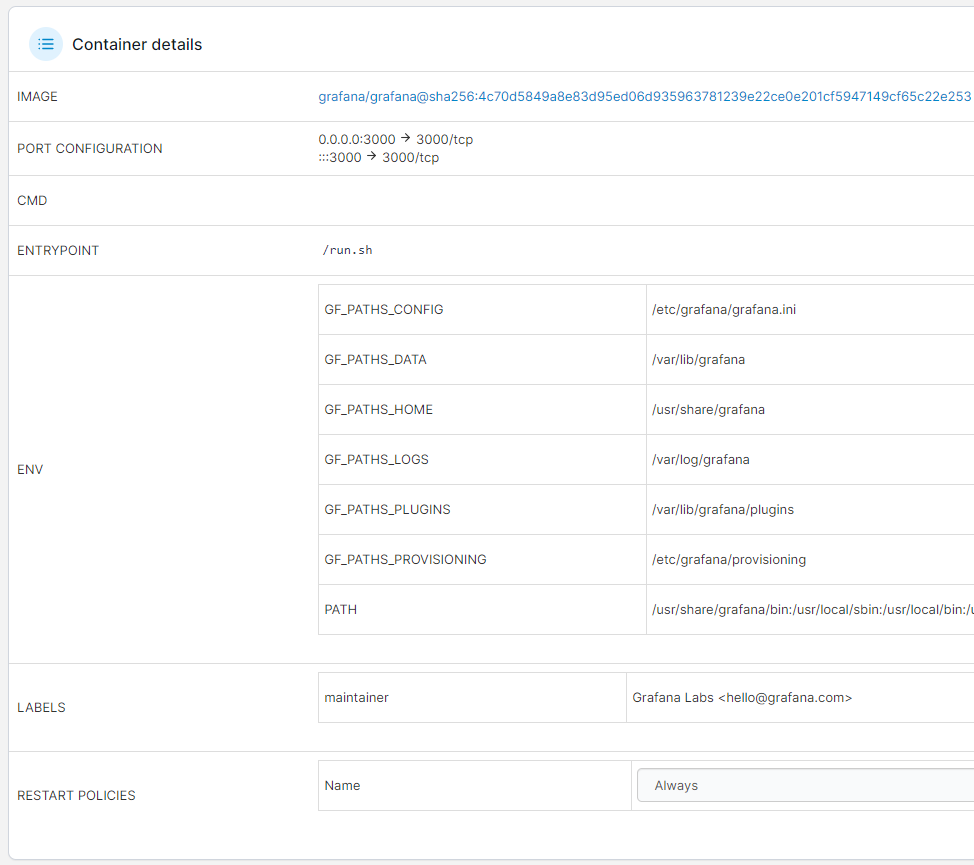
- On the other hand, watch the shared volumes set for the container:
- Also, see more details of the connected networks:

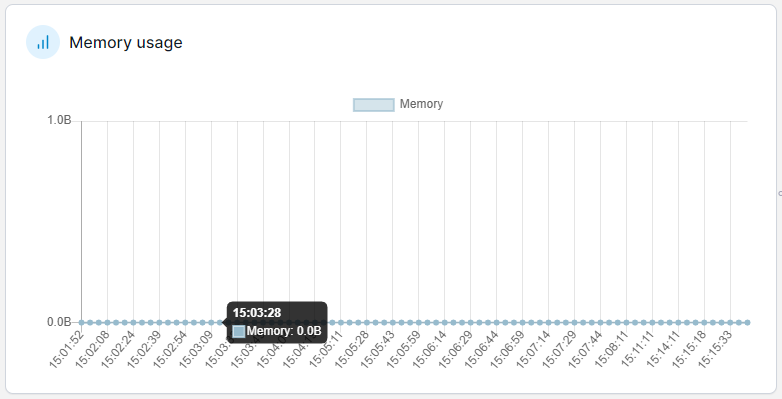
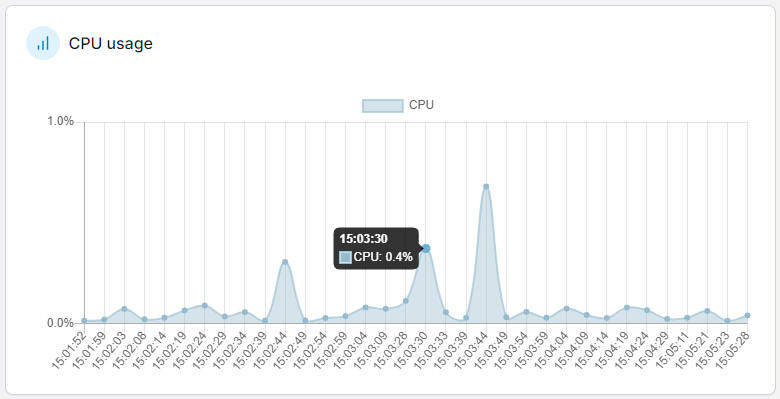
View container CPU and memory usage
- Following that, go back to the container list and click the “Stats” button:
- At the top left of the page, find the “Memory usage” panel:
- Then, at the top right of the page, locate the “CPU usage” panel:
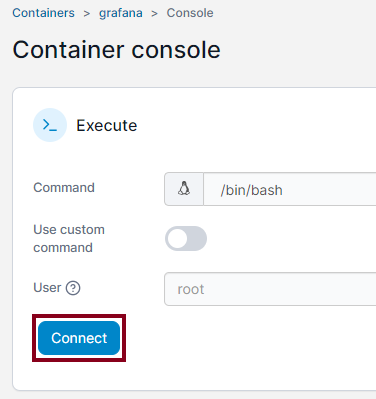
Run a container console
- Surprisingly, you can also run a container console from the GUI by clicking the “Exec Console” button:

- Later, choose the options that you want for your console, or leave the default ones. Press the “Connect” button to continue.
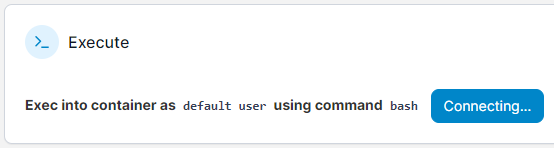
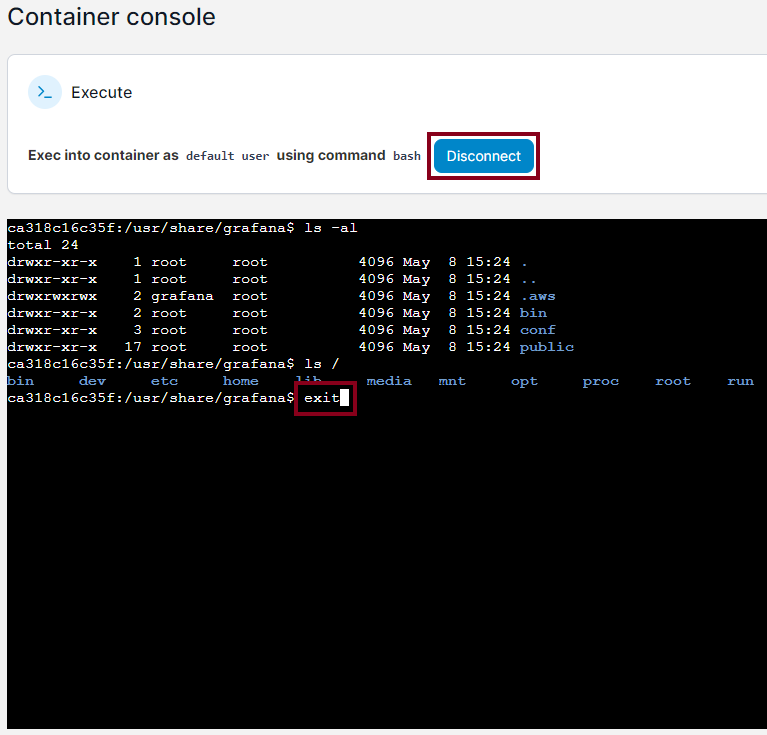
- Then, wait a second and confirm the command prompt with a basic instruction:

- Finally, type “exit” or press the “Disconnect” button to leave the console:
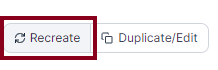
Update and recreate a container
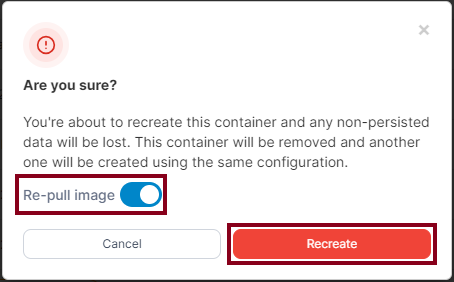
- In that case, you can update and recreate a container in a single step. For that, go to the “grafana” container and press the “Recreate” button to start the process:

- To begin with, make sure to backup your Docker configuration folders because any non-persisted data will be lost. Then, toggle the “Re-pull image” switch and click the “Recreate” button:
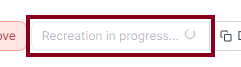
- Look the tag “Recreation in progress…” in the action button:
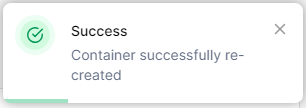
- Lastly, verify the process was successful.
Add a new container
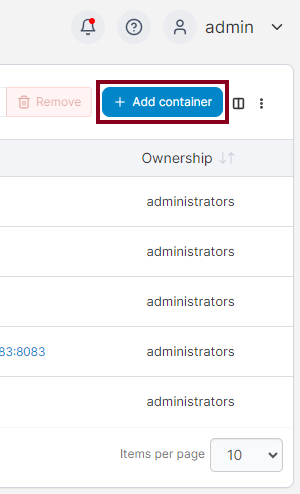
- After that, go back to the container list and click the “Add container” button:

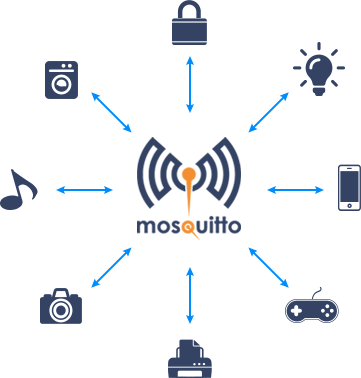
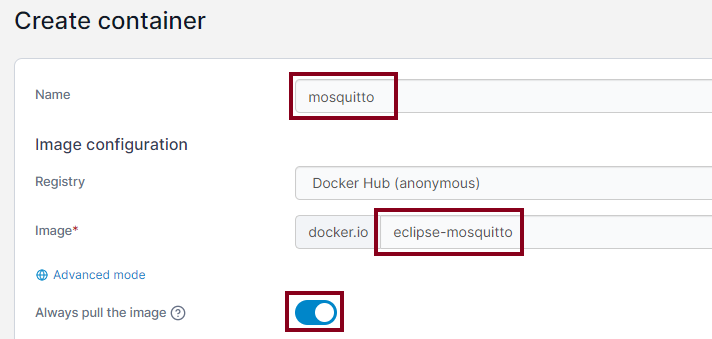
- Prepare to install the Mosquitto message broker:
- Enter the names of the container and the image to pull from Docker Hub:
- Start publishing a new network port to use in the container:

- Make sure to set these ports:

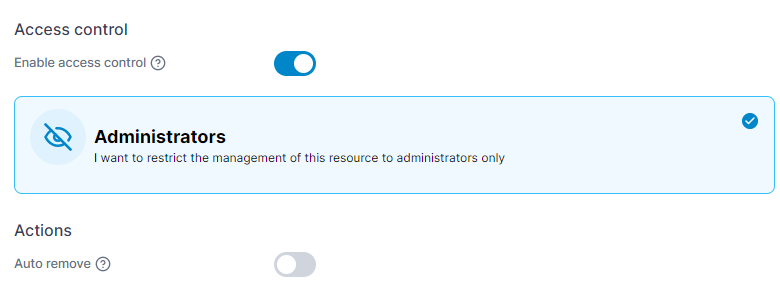
- Also, make sure to enable access control in the container:
- In the “Advanced container settings”, click the “Volumes” tab and the button below to start mapping:
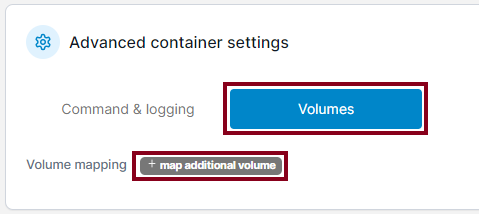
- Map any volume you want:

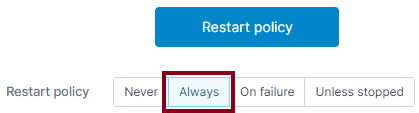
- Set your “Restart Policy” to “Always”:
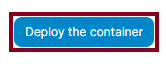
- At this instant, press the “Deploy the container” button to proceed:

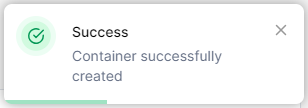
- Finally, check the new container was created and it’s ready to use:

Conclusion
In conclusion, Portainer is a very powerful tool that is easy to learn and use, secure, flexible and supported by a large community. If you are interested in learning more about it, go to the Portainer website here.
Did you enjoy this “Install Portainer on a Raspberry Pi” guide? I’d love to hear from you.
For other articles like this one in English, click here. To see them in Spanish, click here.