Following the second part of the OPC Router tutorial, I’m presenting how to load MQTT data into an InfluxDB time-series database now. Remember, we’re configuring and running a project for “Papín”, a fictional potato bread factory.
Why an OPC Router tutorial with MQTT?
Because “learning by doing” with examples is fun. Also, this particular functionality can bring us an interesting use case: the ability to send telemetry from a device with resource constraints or limited network bandwidth. See below a list of posts that complete this tutorial:
- Getting Started with OPC Router
- Connect an OPC DA server to Microsoft SQL Server
- Connect an MQTT data source to InfluxDB Cloud (this post)
- Perform multiple calculations within OPC Router
- Run an OPC Router application with Linux and Docker
- Build a process data simulator with Python, CSV and OPC Router
- Explore basic RESTful web services within OPC Router
- Build a Telegram basic interaction within OPC Router
- Build an SMS basic interaction within OPC Router
- Build a WhatsApp basic interaction within OPC Router
- Build a Teams basic interaction within OPC Router
- Explore advanced RESTful web services within OPC Router
- Run an OPC Router application with Portainer
Working with OPC Router, MQTT, and InfluxDB Cloud
Knowing your Plugins
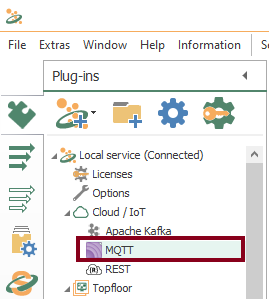
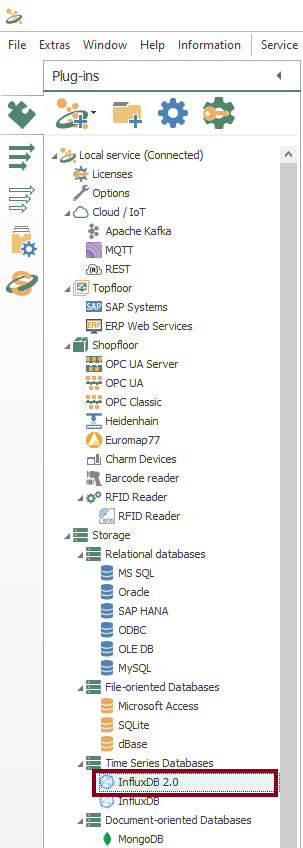
- To begin with, the configuration of OPC Router starts with your licensed plugins. There are several categories such as “Cloud / IoT”, “Topfloor”, “Shopfloor”, “Storage”, “Advanced”, “Messaging” and “Printer”.
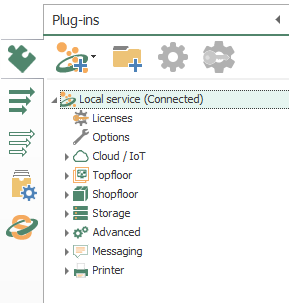
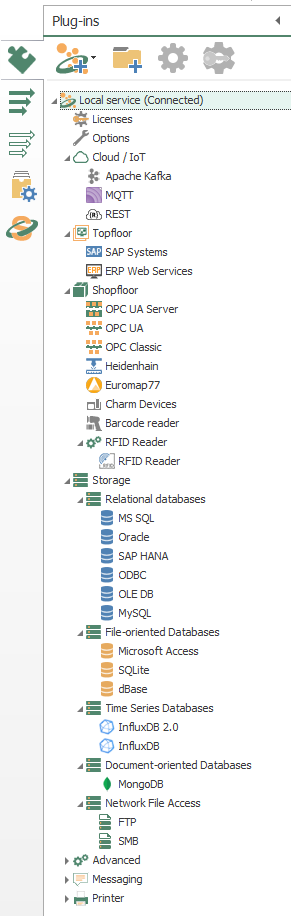
- Make sure to notice MQTT and InfluxDB 2.0.
Knowing your Transfer Objects
- At this point, we’re going to need four (4) transfer objects to solve our use case:
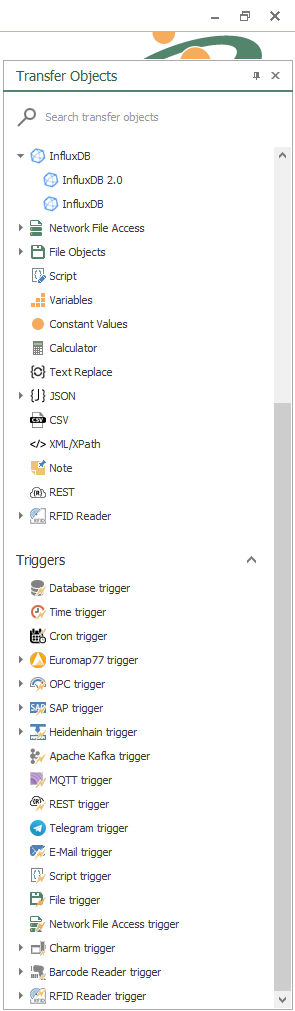
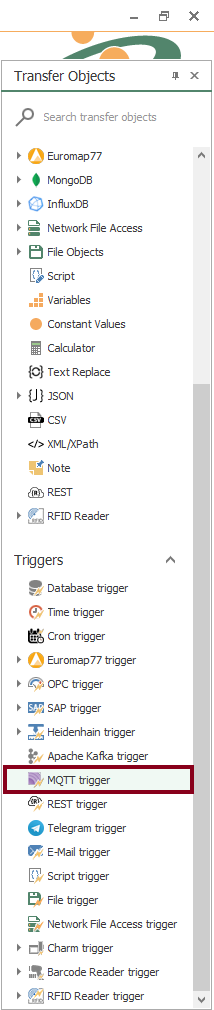
- Make sure to notice Variables, Constant Values, MQTT trigger, and InfluxDB 2.0.
Creating an InfluxDB Cloud account
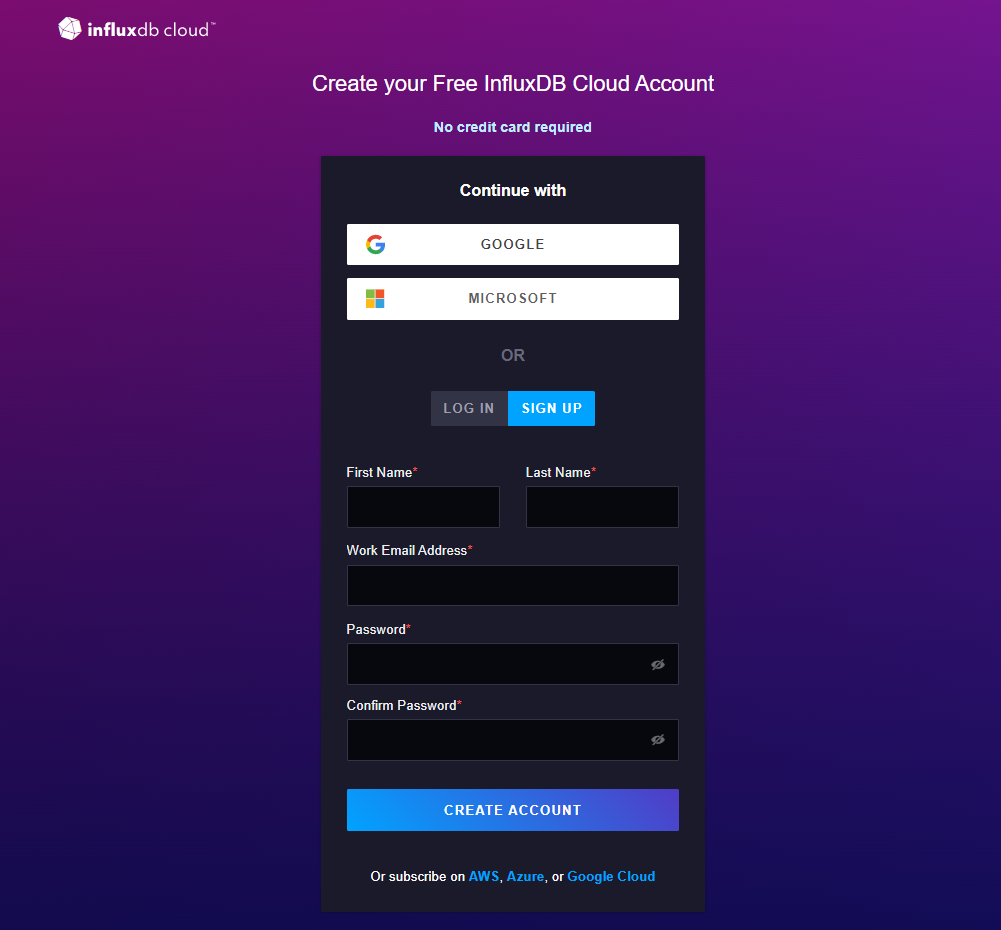
- Let’s go here to start creating your free InfluxDB Cloud account. If you want, you could sign up with a Google or Microsoft account, even with your work email address.
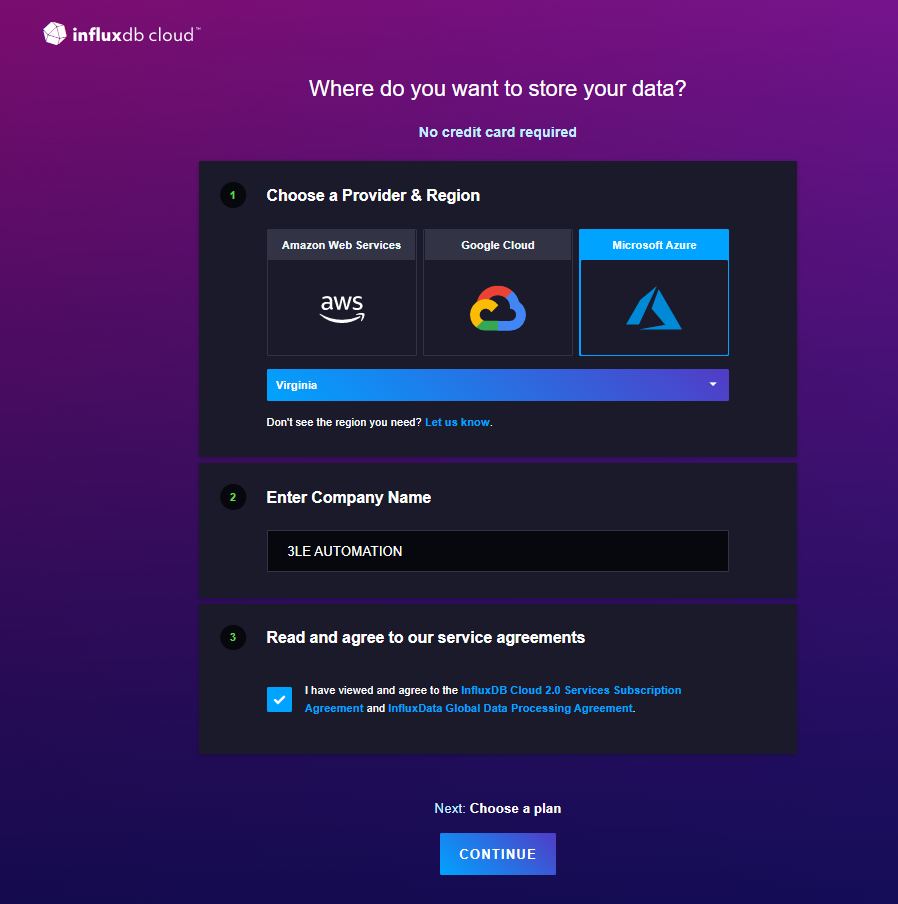
- Then, choose a provider and region where you want to store your data. enter your company name and agree to the Terms of Service.
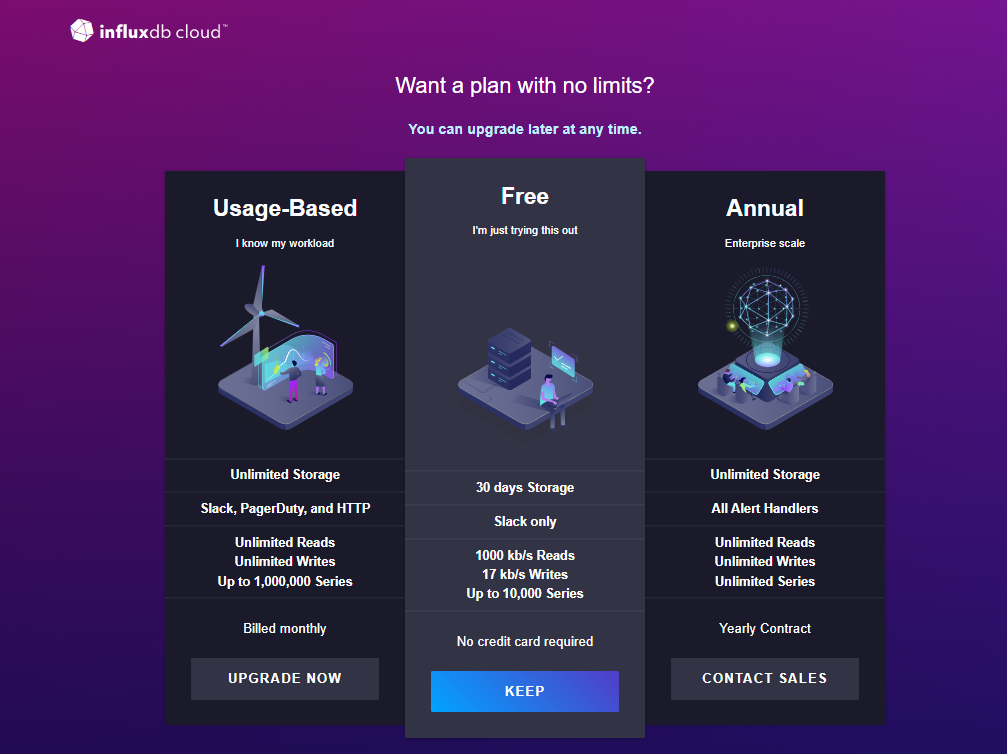
- Select the “Free” plan. You can upgrade later at any time.
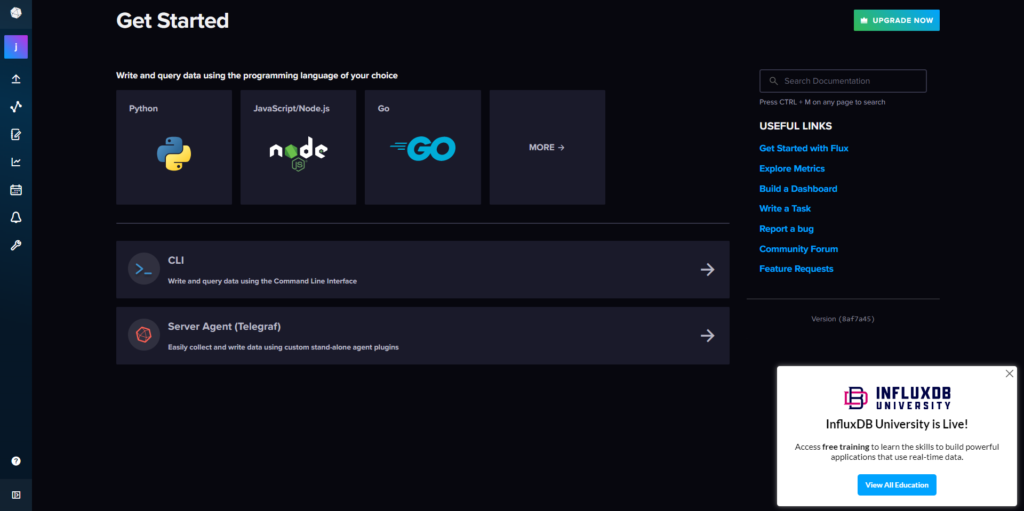
- Notice your “Get Started” dashboard once you logged in.
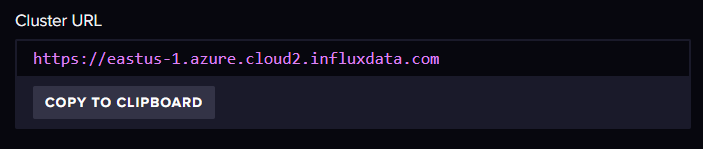
- Go to “Organization > Settings” and register your “Cluster URL” (Host).
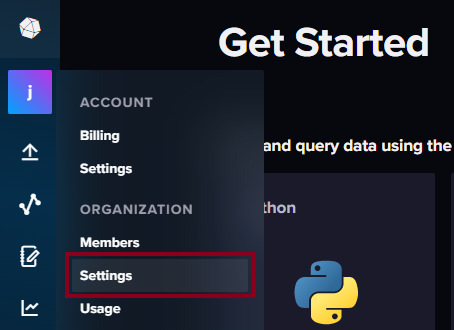
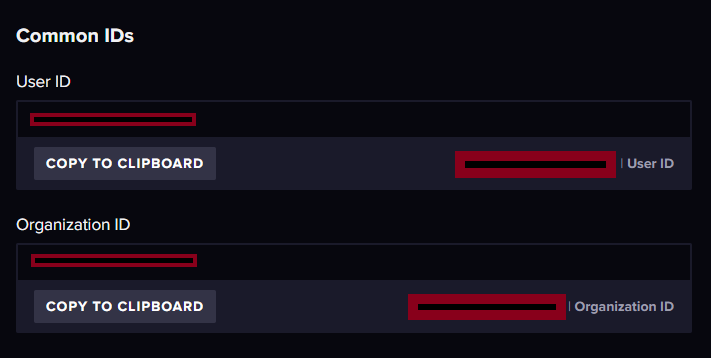
- Also, register your own “User ID” and “Organization ID”.
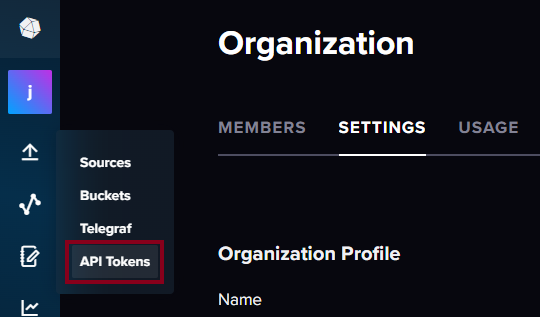
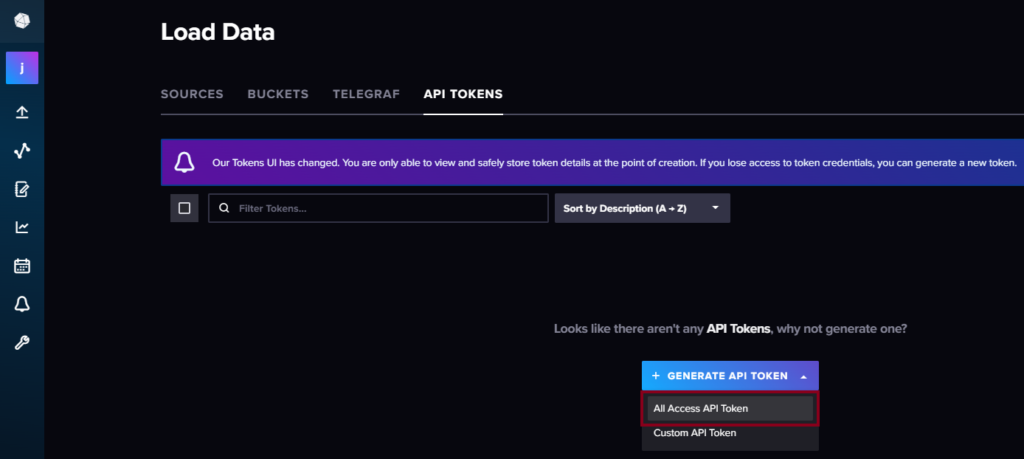
- At this point, go to “API Tokens” and generate a new API token.
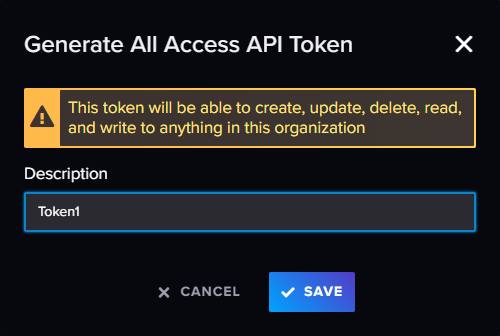
- Select “All Access API Token” as a key to authenticate your complete access to the InfluxDB Cloud account.
- Enter a description for the new token and press the “SAVE” button. Make sure to copy your new custom API token now because you won’t be able to see it again!
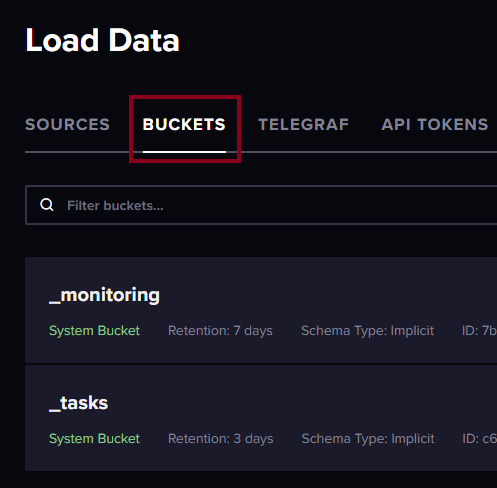
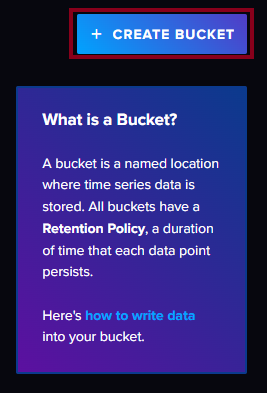
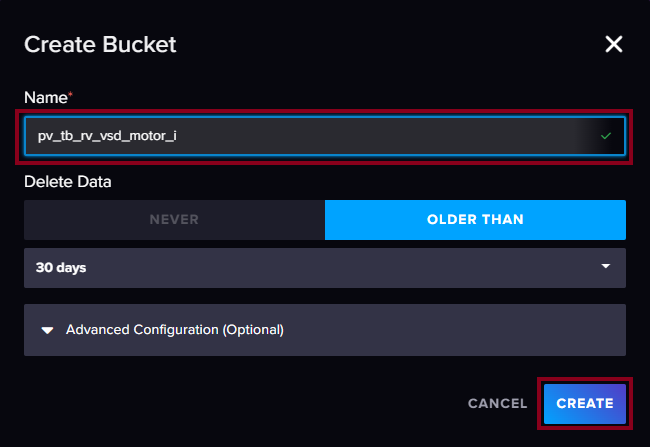
- Go to the “Buckets” tab. A bucket is a named location where time-series data is stored. All buckets have a Retention Policy, a duration of time that each data point persists. Next, press the “CREATE BUCKET” button to start.
- Create your “pv_tb_rv_vsd_motor_i” bucket.
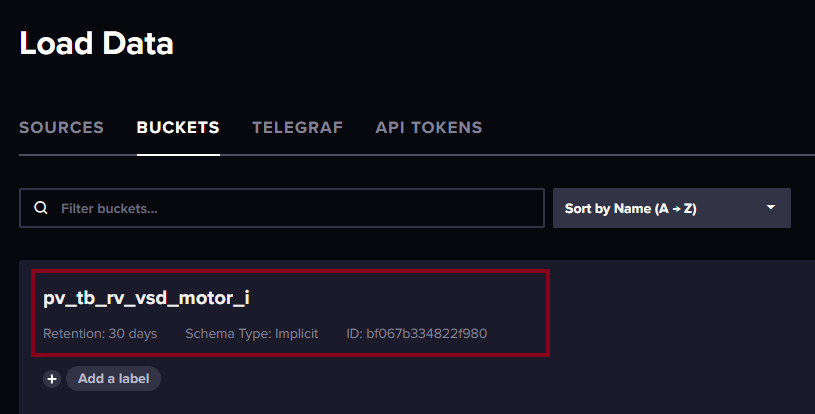
- Check the creation of your new bucket.
Configuring your Plugins
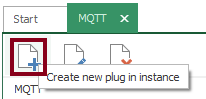
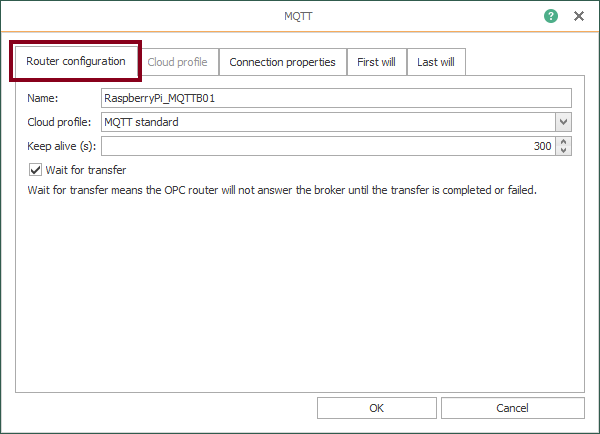
- Following identification, OPC Router needs to configure every licensed plugin. Let’s start creating a new plug-in instance with MQTT (double click on the object):
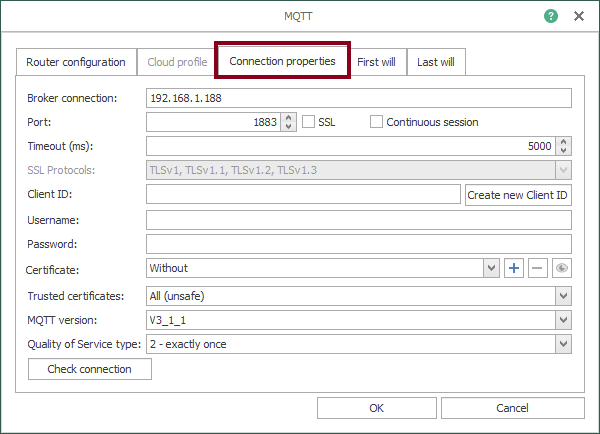
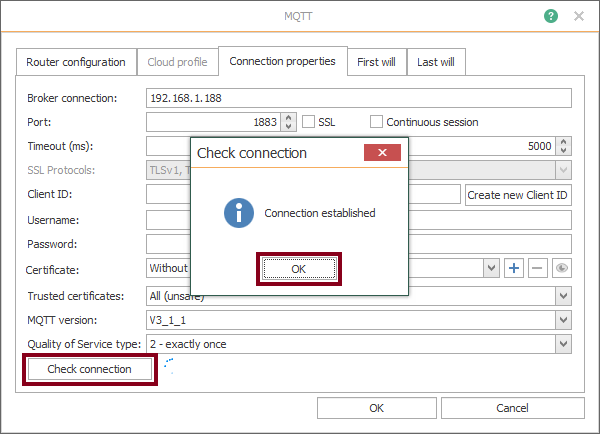
- At this point, define a remote MQTT broker using a Raspberry Pi and press the “Check connection” button to test connectivity. Finally, press the “OK” button twice to save changes and close the window.
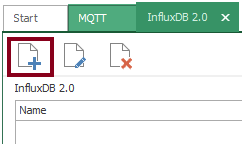
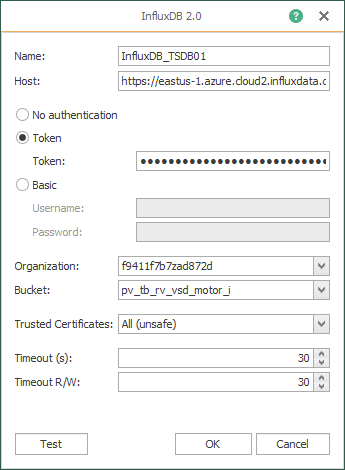
- After that, let’s start creating a new plug-in instance with InfluxDB 2.0:
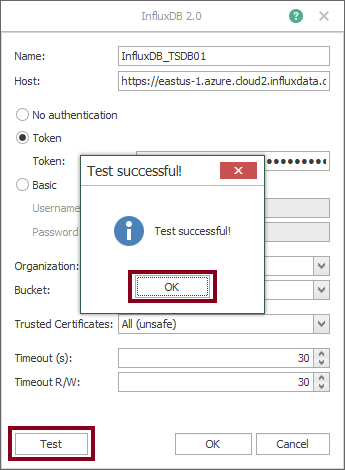
- Then, define a remote InfluxDB Cloud link and press the “Check connection” button to test connectivity.
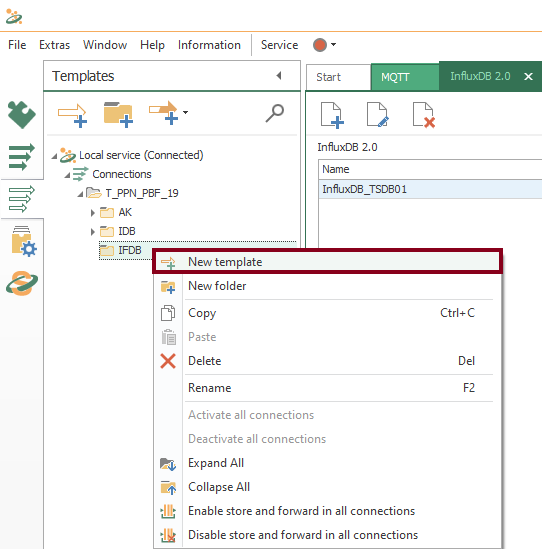
Creating your Third Template
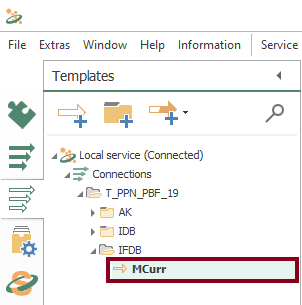
- In similar fashion to the second part of the tutorial, a template is the correct approach once again. Let’s create a new InfluxDB Cloud template MCurr within IFDB folder (VSD motor current):
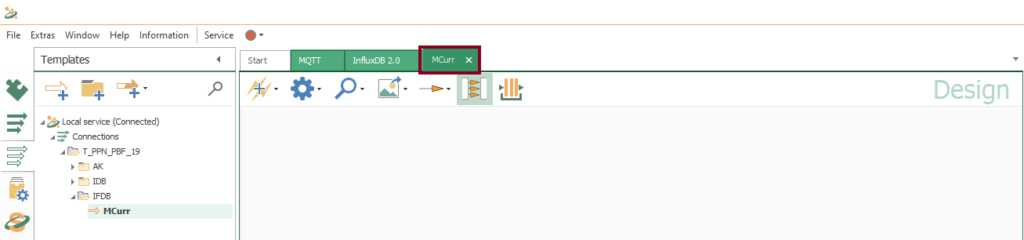
- Watch an empty design panel so you can start building your template:
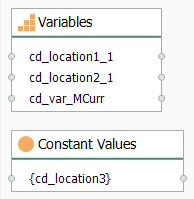
- Drag and drop these two blocks as shown here. Additionally, make sure to create template variable “cd_location3“:
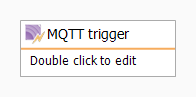
- Insert the MQTT trigger block:
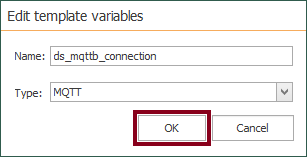
- Make sure to create template variable “ds_mqttb_connection” for MQTT links:
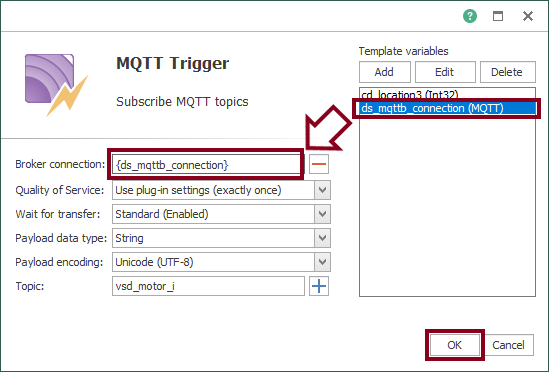
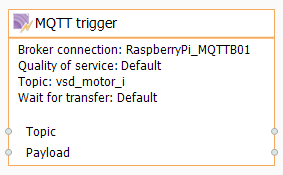
- Edit the MQTT trigger block and make sure it looks like this:
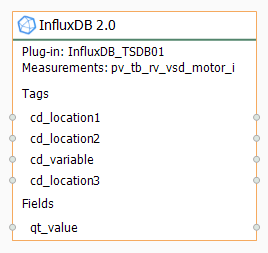
- Insert the InfluxDB 2.0 block:

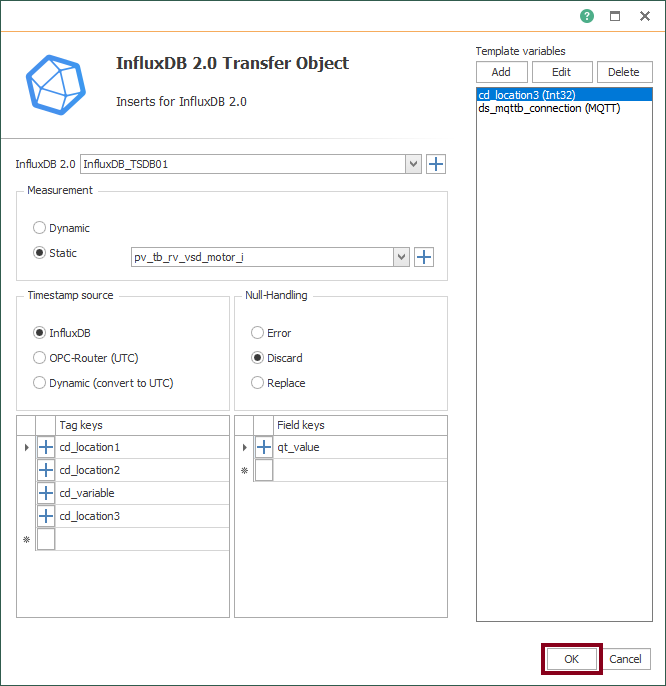
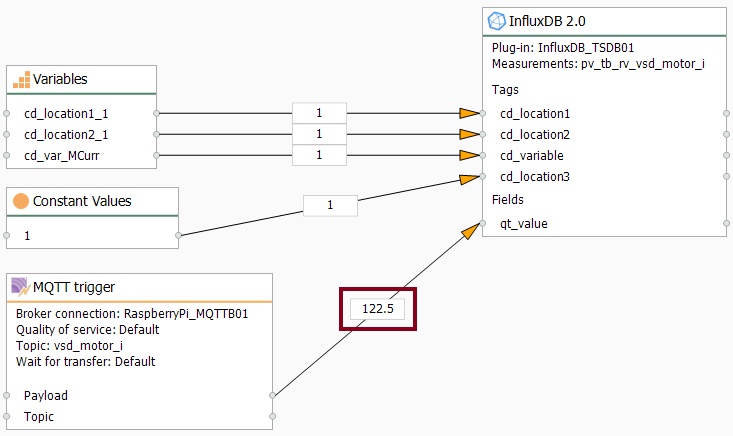
- Edit the INSERT operation and make sure it looks like this:
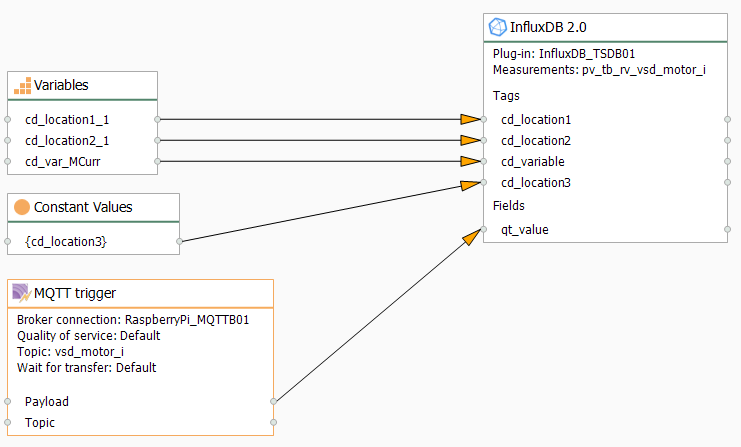
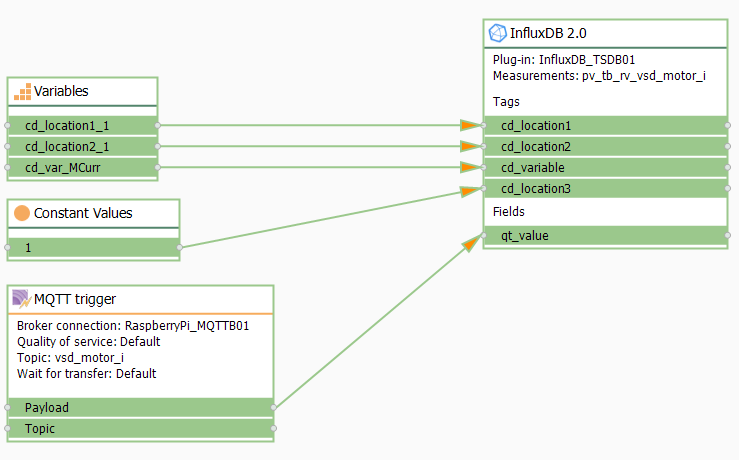
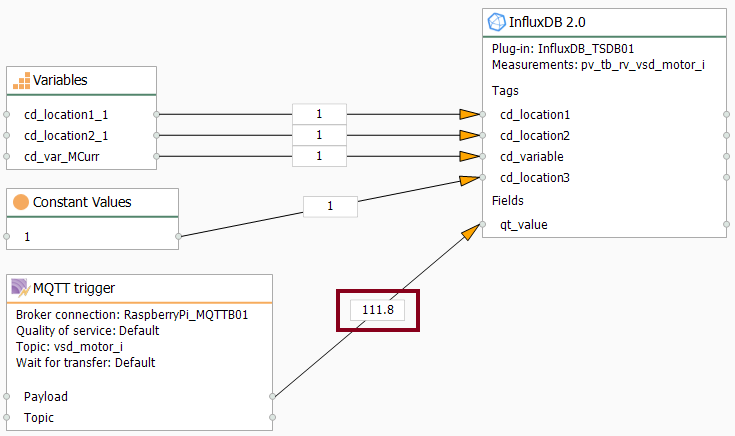
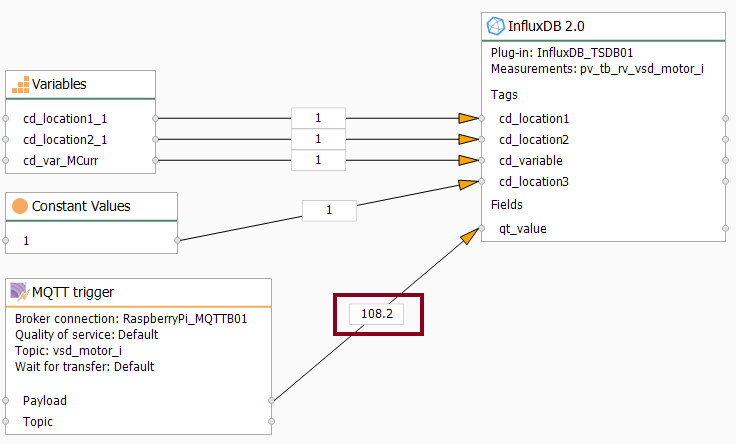
- Make sure to link blocks as shown here to complete your third template:
Working with Instances from Templates
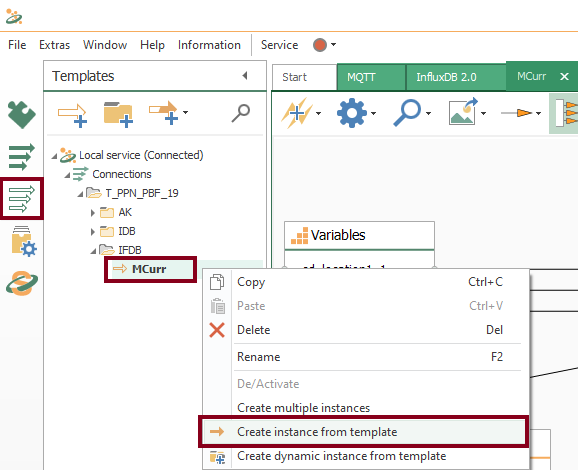
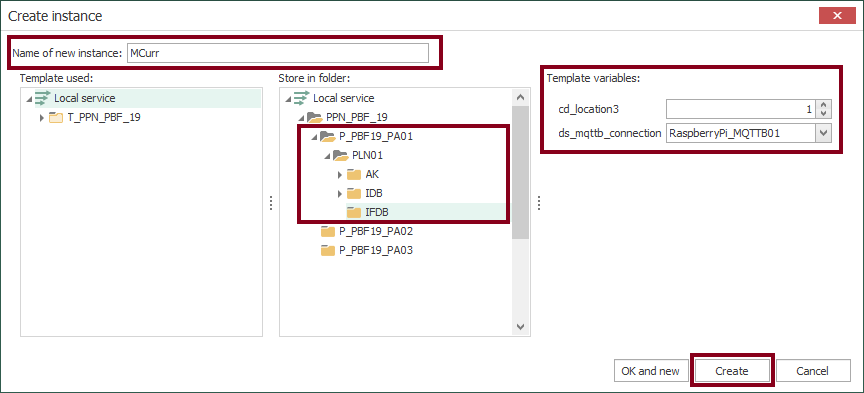
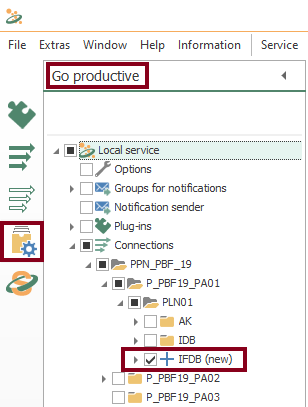
- With your third template, a new instance is required now. Start creating it using the contextual menu:
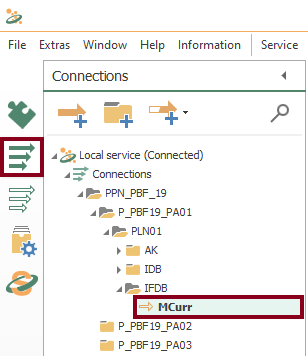
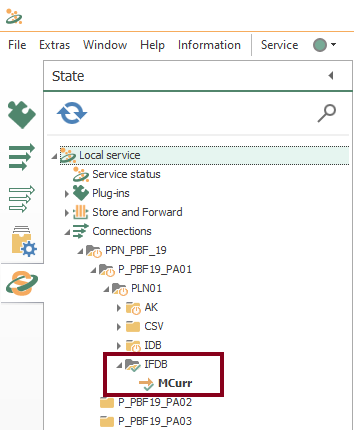
- Check the new instance:
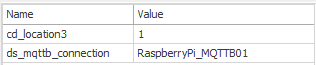
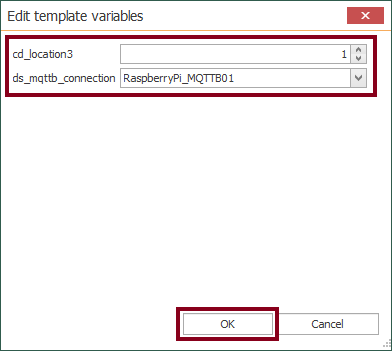
- In the design panel, double click to check values in template variables according to location and actual MQTT link:
Compile, Save and Publish your OPC Router Project Configuration with MQTT and InfluxDB Cloud
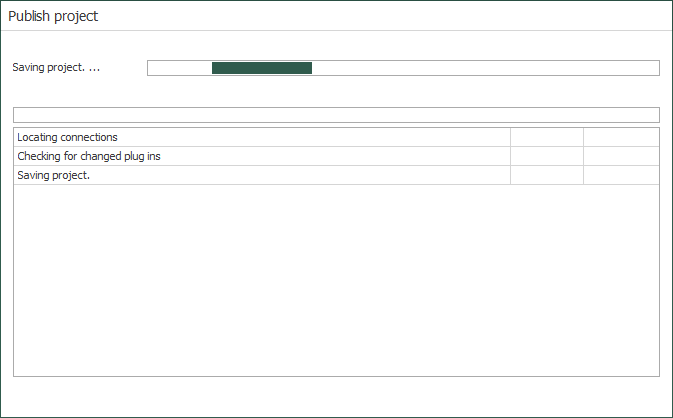
- At this time, you need to compile, save and publish the connection you just created by clicking the “Go productive” button:
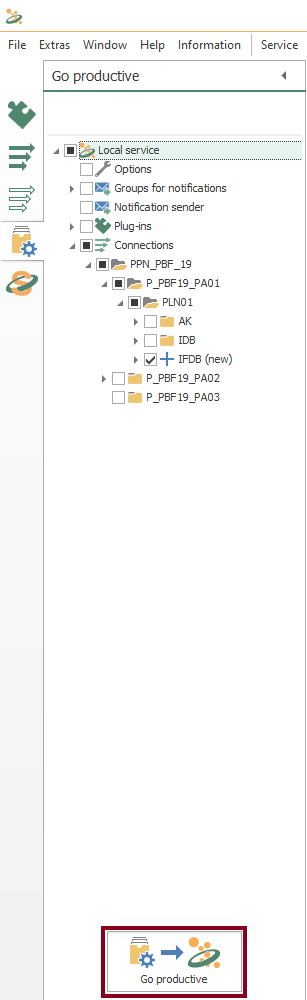
- Meanwhile, the project is saved and published.
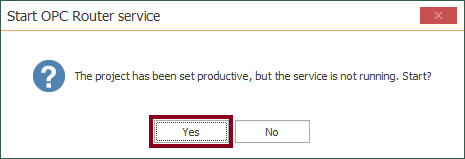
- Press the “Yes” button to start the OPC Router service and run your application.
Publish and Subscribe to MQTT Data
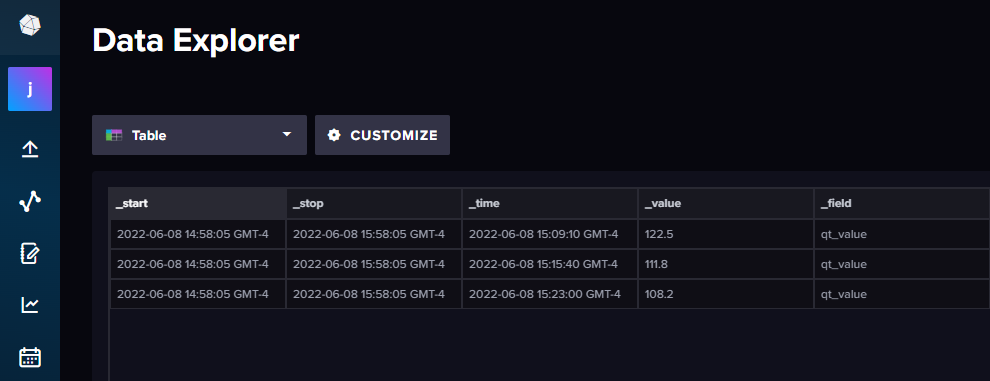
- From a Raspberry Pi, publish and subscribe to some MQTT test data:
$ mosquitto_pub -h 192.168.1.188 -t "vsd_motor_i" -m 122.5 -d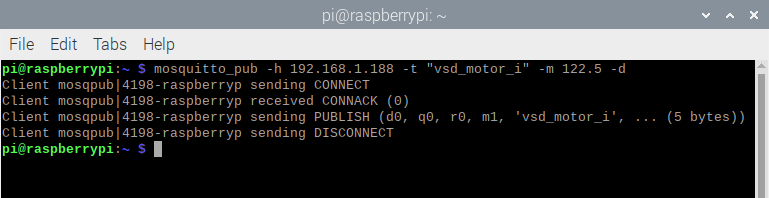
$ mosquitto_pub -h 192.168.1.188 -t "vsd_motor_i" -m 111.8 -d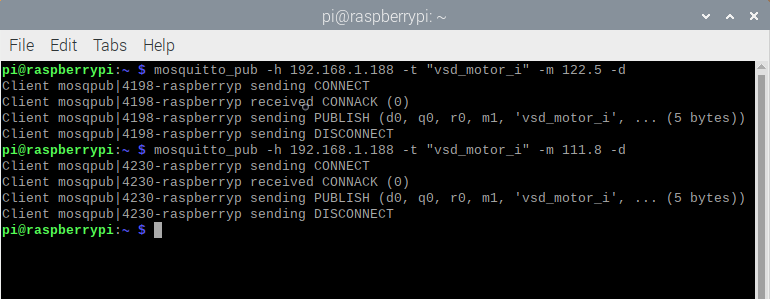
$ mosquitto_pub -h 192.168.1.188 -t "vsd_motor_i" -m 108.2 -d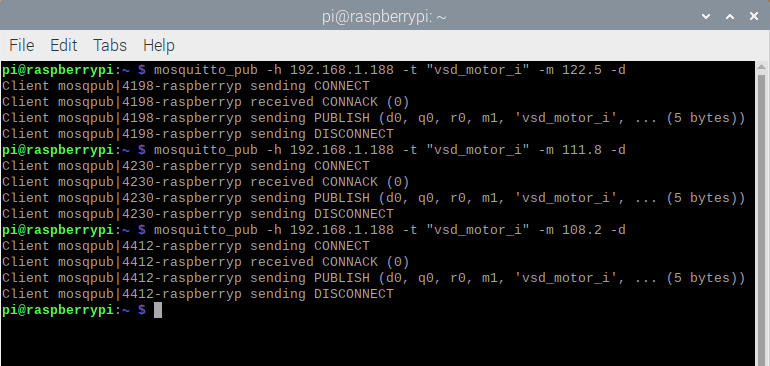
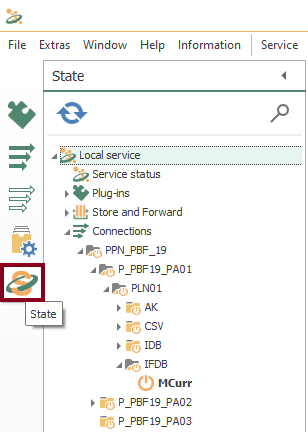
Check Compiled Connection State
- Finally, you should check the state of your compiled connection by pressing the “State” button:
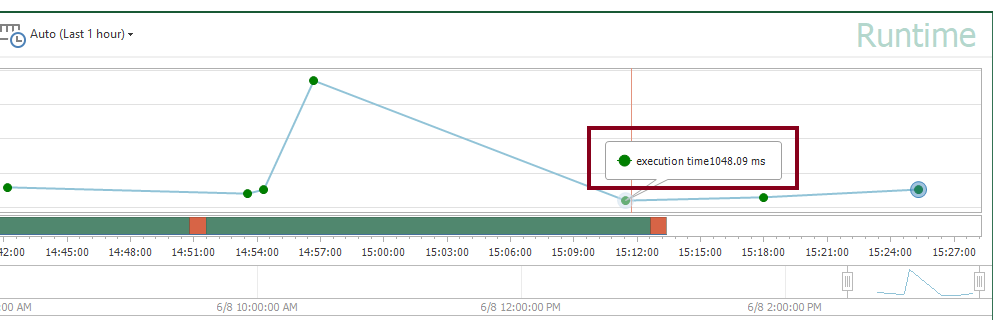
- You should notice an execution time visually (it’s 1048.09 milliseconds in this example):
Verify OPC Router Data Transfer from MQTT to InfluxDB Cloud
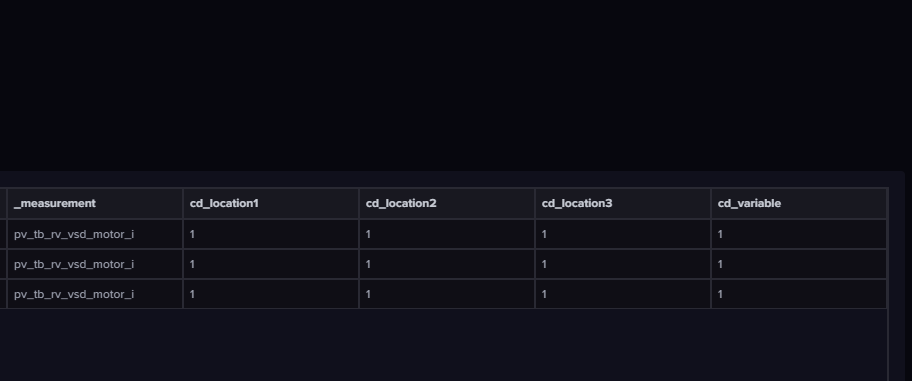
- Additionally, you can verify data transfer within the Data Explorer web interface:
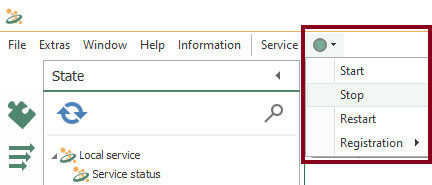
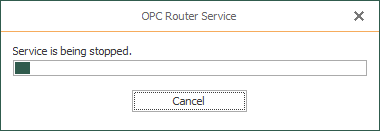
Control OPC Router service
- You are able to start, stop or restart the OPC Router service when needed.
Did you enjoy this OPC Router tutorial with MQTT? I’d love to hear from you.
Stay tuned and follow part 4 of this tutorial! 😎
For other articles like this one in English, click here. To see them in Spanish, click here.