
Knowing how to connect both industrial and cloud environments using MQTT on a Raspberry Pi is a very valuable skill. Also, if you’re capable of taking advantage of devices with resource constraints or limited network bandwidth, your projects will be profitable.
What is MQTT?
MQTT or MQ Telemetry Transport is a lightweight open messaging protocol for restricted low-bandwidth networks and extremely high-latency IoT devices. The protocol employs a publish/subscribe communication pattern, ideal for machine-to-machine (M2M) communication.
Since MQTT started as a proprietary protocol used to communicate with Supervisory Control and Data Acquisition (SCADA) systems in the oil and gas industry, it has become popular in the smart device arena now and it is the leading open source protocol for connecting Internet of Things (IoT) and Industrial IoT (IIoT) devices today.
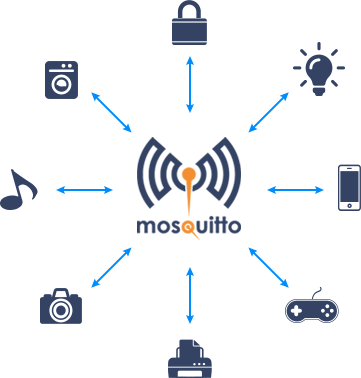
As written previously, MQTT works on the publisher/subscriber principle. The process operates via a central broker. This means that the sender and receiver have no direct connection. The publishers send the messages through to the broker that serves as “the middle man”. The subscribers connect to the MQTT broker and read messages sent under a specific topic.
What is a Raspberry Pi?
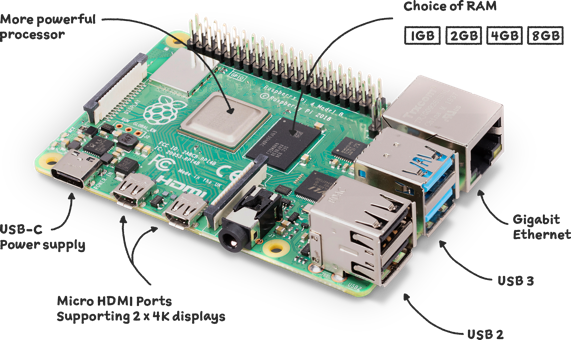
The Raspberry Pi is a low cost, credit-card sized computer. It’s possible to connect a computer monitor or TV to its board, and uses a standard keyboard and mouse. It is a capable little device that enables people of all ages to explore computing, and to learn how to program in languages like Scratch and Python. It’s capable of doing everything you’d expect a desktop computer to do, from browsing the internet and playing high-definition video, to making spreadsheets, word-processing, and playing games. However, the Raspberry Pi can interact with the outside world in many ways, working great as data source for industrial applications.
What is Eclipse Mosquitto?
Eclipse Mosquitto is an open source (EPL/EDL licensed) message broker that implements the MQTT protocol versions 5.0, 3.1.1 and 3.1. Mosquitto is lightweight and is suitable for use on all devices from low power single board computers to full servers.
The Mosquitto project also provides a C library for implementing MQTT clients, and the very popular mosquitto_pub and mosquitto_sub command line MQTT clients.
Mosquitto is part of the Eclipse Foundation, is an iot.eclipse.org project and is sponsored by cedalo.com.
Install Mosquitto MQTT Broker on a Raspberry Pi
To get the Raspberry Pi to support the MQTT protocol, we will be using Mosquitto. Also, we will be having multiple sensors to send their data to the Raspberry Pi’s MQTT broker, where client applications can then subscribe to receive that data.
- Firstly, make sure our Raspberry Pi uses a static IP address (for instance, 192.168.1.188).
- Secondly, update the operating system by running these commands:
$ sudo apt update
$ sudo apt upgrade- Once the system finishes updating, install Mosquitto software (server and client) by running these commands:
$ sudo apt install mosquitto mosquitto-clientsThe client software will allow us to interact and test that our MQTT broker is running correctly on our Raspberry Pi. During the installation process, the package manager will automatically configure the Mosquitto server to start on boot.
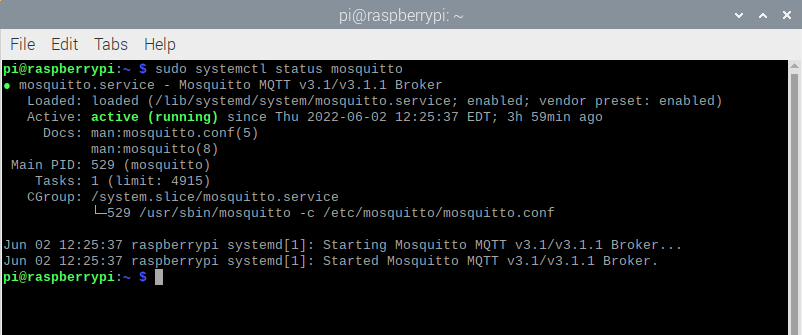
- At this point, you will now have the Mosquitto MQTT broker up and running on your device. Verify installation and execution by using the command below:
$ sudo systemctl status mosquittoThis command will return the status of the “mosquitto” service. You should see the text “active (running)” if the service has started up properly.
Test the service
The following step will be to test that the service works as it should be and is now acting as an MQTT broker on our Raspberry Pi. To do this, we’ll be using the Mosquitto client that we installed earlier.
- Initially, make sure that you have access locally or over SSH to our Raspberry Pi.
- Also, check that you’re able to use a remote workstation in the same subnet (for instance, Debian) to start up a subscriber, where you also have the Mosquito MQTT broker installed.
- Go to the remote Debian node and start up a subscriber by running:
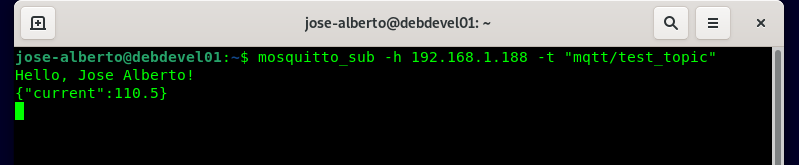
$ mosquitto_sub -h 192.168.1.188 -t "mqtt/test_topic"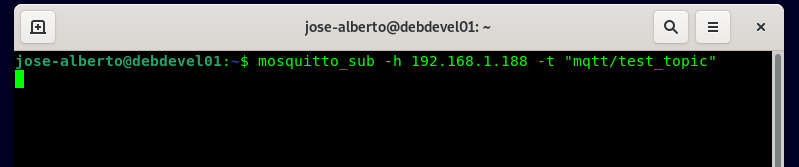
- Then, go to our Raspberry Pi and publish a message by running:
$ mosquitto_pub -h 192.168.1.188 -t "mqtt/test_topic" -m "Hello, Jose Alberto!"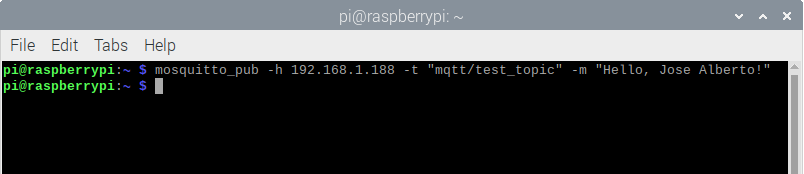
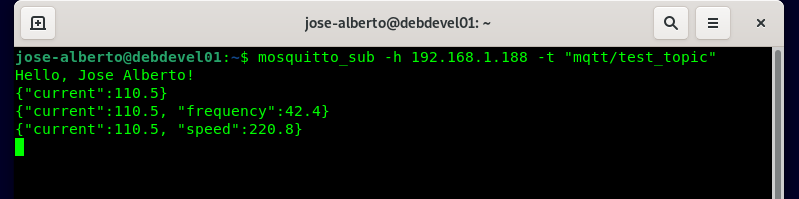
- Go back to the remote node and see the message received and displayed:

Testing MQTT transfers with Mosquitto client tools
The “mosquitto_pub” and “mosquitto_sub” client utilities comes with the Mosquitto package. These are excellent tools for conducting quick tests and troubleshooting. Let’s see some examples on how to use them for publishing and subscribing.
Subscribing MQTT from a Raspberry Pi #1
- Go to the remote Debian node and start up a subscriber by running:
$ mosquitto_sub -h 192.168.1.188 -t "mqtt/test_topic"We’ll be using this basic subscription for the first examples. This is ideal to quickly monitor a topic. When you start this client, it runs indefinitely until stopped using “CTRL + C“.
Publishing MQTT from a Raspberry Pi #1
- These are two publish examples. First, a simple one:
$ mosquitto_pub -h 192.168.1.188 -t "mqtt/test_topic" -m "Hello, Jose Alberto!"In this example, the message is published and the client exits without displaying any messages.
- Second, a publish with a debug flag (-d) set.
$ mosquitto_pub -h 192.168.1.188 -t "mqtt/test_topic" -m "Hello, Jose Alberto!" -d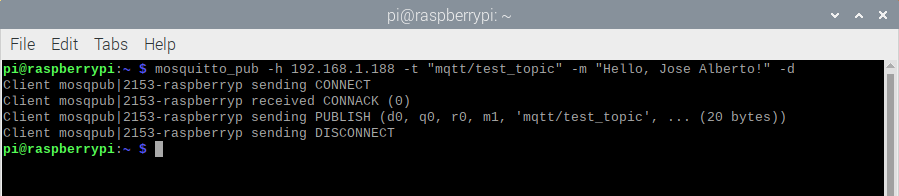
If you enable the debugging using the -d flag, then you can see the CONNECT, PUBLISH and DISCONNECT messages. Also, notice the -h flag sets the host name or IP address.
Asking for help
- To get help, use the –help flag.
$ mosquitto_pub --help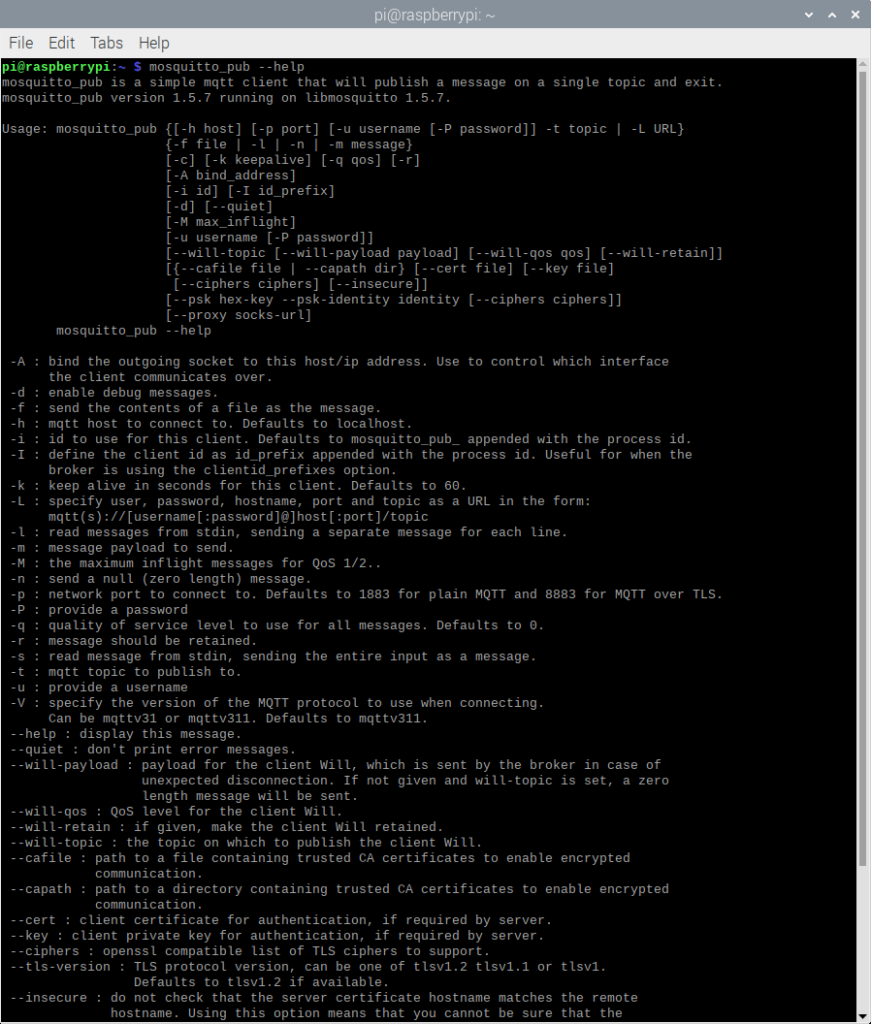
Publishing MQTT from a Raspberry Pi #2
- These are three publish examples with the popular JSON format. First, a simple one that escapes the quotes so that they are included:
$ mosquitto_pub -h 192.168.1.188 -t "mqtt/test_topic" -m {\"current\":110.5} -d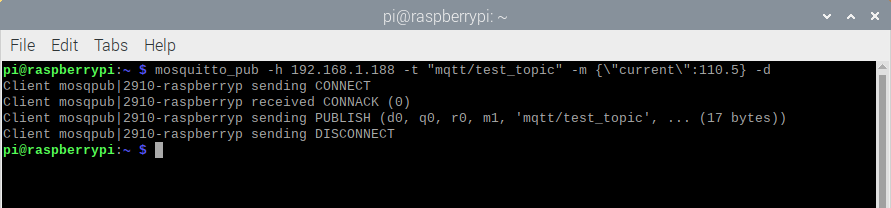
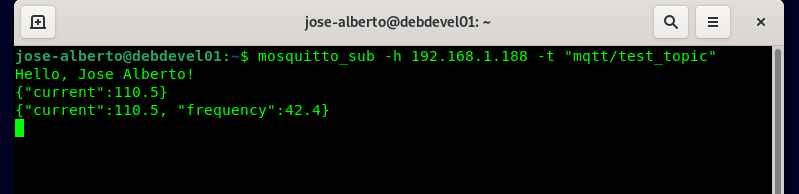
- Second, if you are sending multiple values, then you need to put the entire string in quotes:
$ mosquitto_pub -h 192.168.1.188 -t "mqtt/test_topic" -m "{\"current\":110.5, \"frequency\":42.4}" -d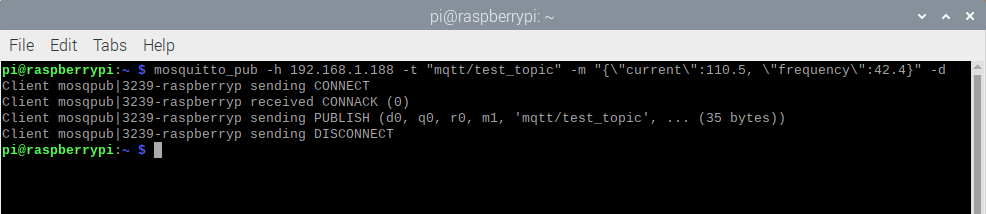
- Third, you can also use shell variables. If you need a shell variable called “speed“, then:
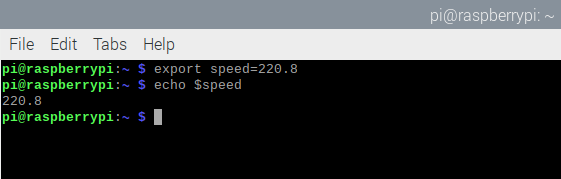
$ mosquitto_pub -h 192.168.1.188 -t "mqtt/test_topic" -m "{\"current\":110.5, \"speed\":$speed}" -d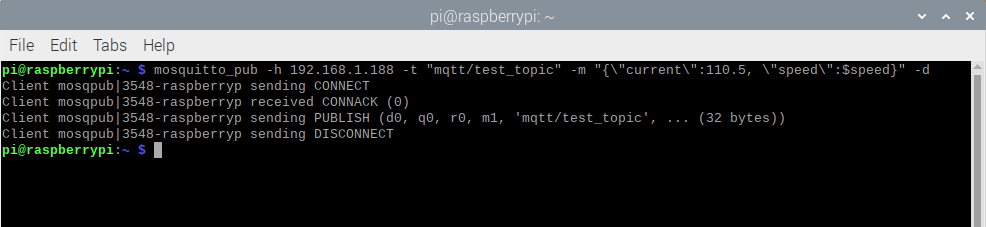
For other articles like this one in English, click here. To see them in Spanish, click here.