Welcome! Want to learn how to build real-world applications that collect, exchange and set information between OPC servers, IoT devices, MES, ERP systems and databases using OPC Router with a tutorial? Here, you’ll do just that, configuring and running a project for “Papín”, a fictional potato bread factory.

What is OPC Router?
According to inray’s product documentation:
OPC Router is a software router for data routing between OPC Servers (and therefore any PLCs) and databases (and therefore almost any MES, ERP or other business administration software). Other plug-ins connect SAP systems and mail servers, print labels, update Excel files (or create them), communicate with web services or process individual scripts for customized connections.
OPC Router 4.25 User Guide
Why an OPC Router tutorial?
Because “learning by doing” with examples is fun. See below a list of posts that complete this tutorial:
- Getting Started with OPC Router (this post)
- Connect an OPC DA server to Microsoft SQL Server
- Connect an MQTT data source to InfluxDB Cloud
- Perform multiple calculations within OPC Router
- Run an OPC Router application with Linux and Docker
- Build a process data simulator with Python, CSV and OPC Router
- Explore basic RESTful web services within OPC Router
- Build a Telegram basic interaction within OPC Router
- Build an SMS basic interaction within OPC Router
- Build a WhatsApp basic interaction within OPC Router
- Build a Teams basic interaction within OPC Router
- Explore advanced RESTful web services within OPC Router
- Run an OPC Router application with Portainer
Introduction
Initially, the features we’re trying to achieve with the OPC Router v4.26 tutorial are:
- OPC Classic connection from a ControlLogix PAC using a Factory Talk Linx Gateway OPC DA server.
- Apache Kafka data stream processing.
- Microsoft SQL Server database storage.
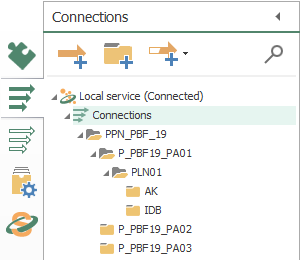
The factory that produces “Papín” potato bread has three (3) facilities as process areas (“P-PBF19-PA01”, “P-PBF19-PA02” and “P-PBF19-PA03”) and six (6) production lines each (PLN0xxx). Also, one (1) process area data gateway is in charge of collecting variables from production lines and global process area.
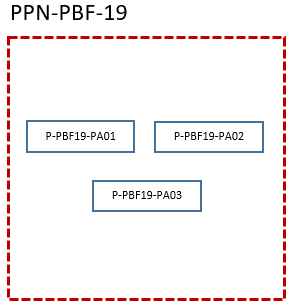
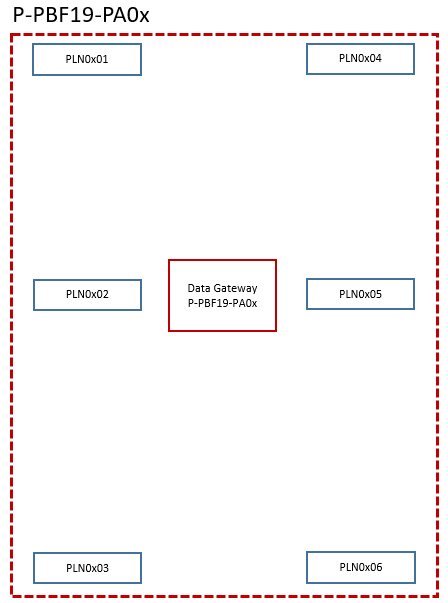
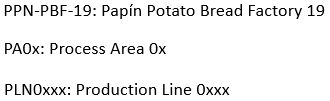
In short, check this legend for better reference:
- First, run OPC Router Config to configure your PPN_PBF_19 project.

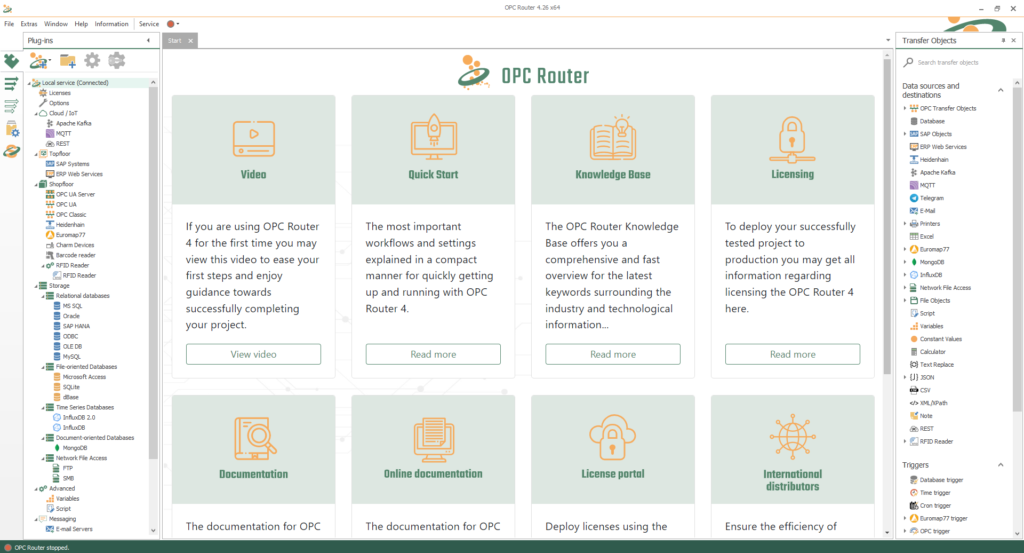
- Wait for the OPC Router 4 GUI to load.
- Then, you should see something like this in the Start tab:
Getting Started with OPC Router
Knowing your Plugins
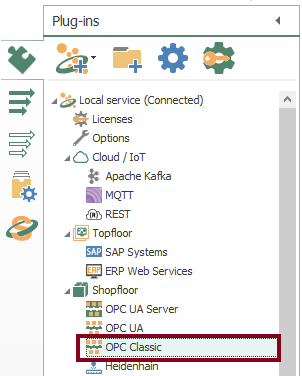
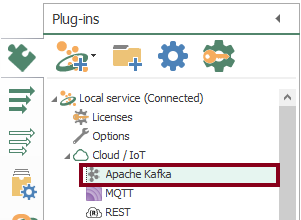
- To begin with, the configuration of OPC Router starts with your licensed plugins. There are several categories such as “Cloud / IoT”, “Topfloor”, “Shopfloor”, “Storage”, “Advanced”, “Messaging” and “Printer”.
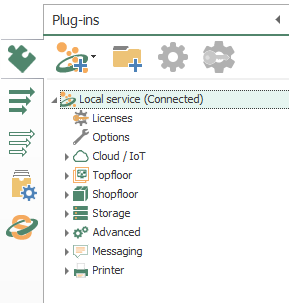
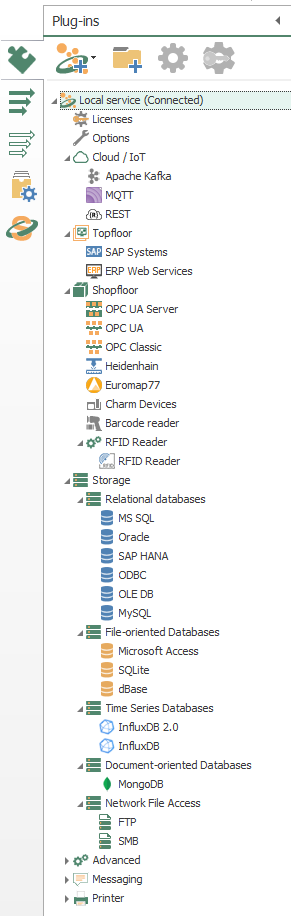
- For instance, make sure to notice Apache Kafka, OPC Classic and MS SQL.
Configuring your Plugins
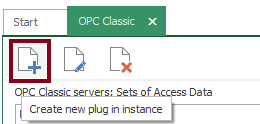
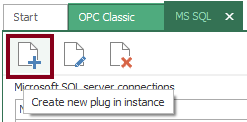
- Following identification, OPC Router needs to configure every licensed plugin. Let’s start creating a new plug in instance with OPC Classic (double click on object):
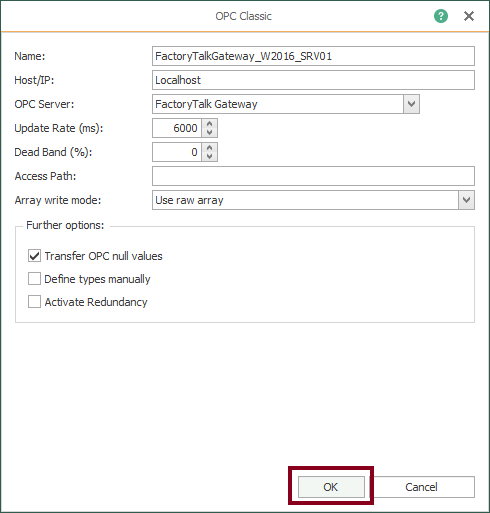
- At this point, define a local OPC Classic connection using a Factory Talk Linx Gateway OPC DA server, with an update rate of 6 seconds.
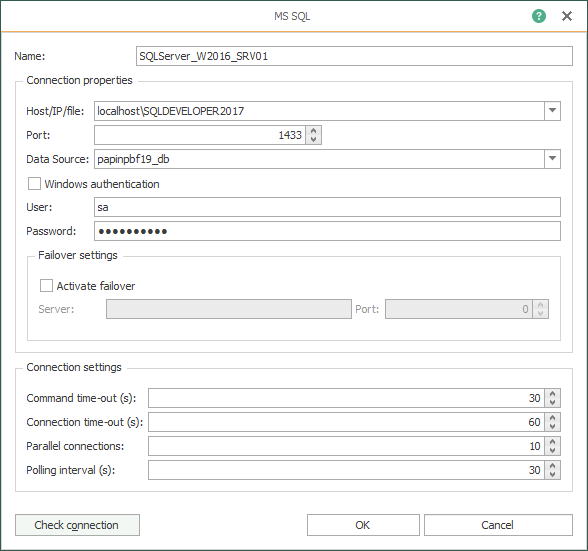
- After that, let’s start creating a new plug in instance with MS SQL:
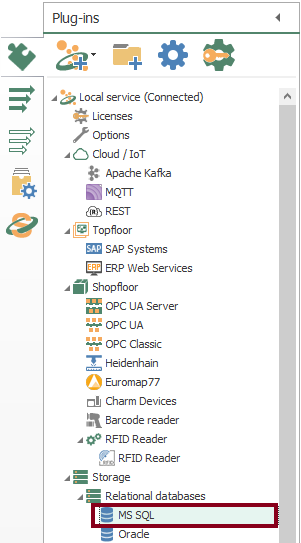
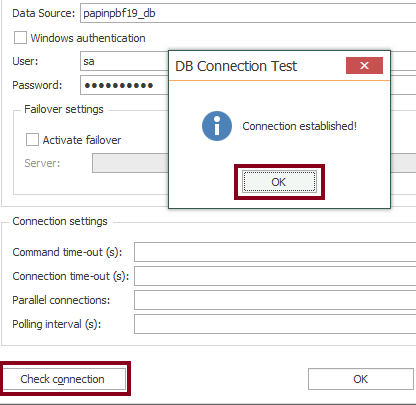
- Then, define a local Microsoft SQL Server database storage and press the “Check connection” button to test connectivity.
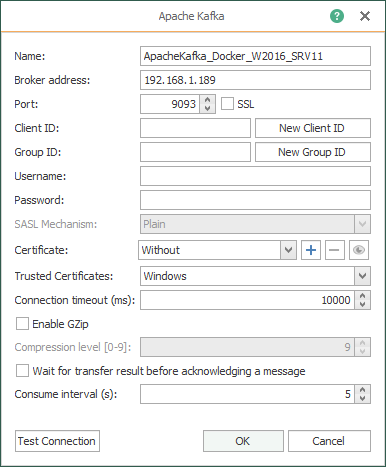
- Finally, let’s start creating a new plug in instance with Apache Kafka:
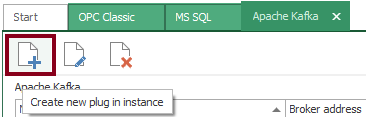
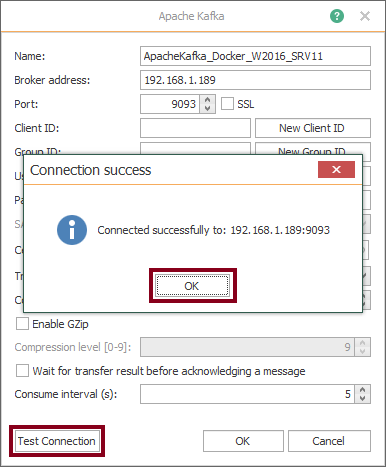
- Define a remote Apache Kafka broker and press the “Check connection” button to test connectivity.
Working with Folders, Templates, and Connections
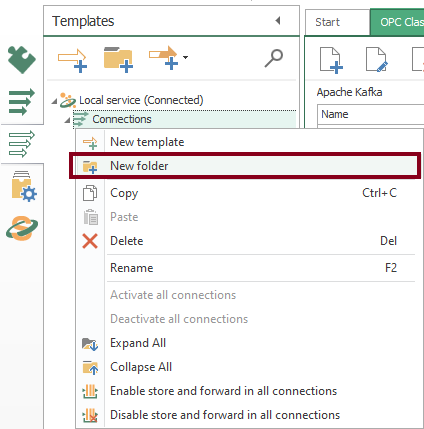
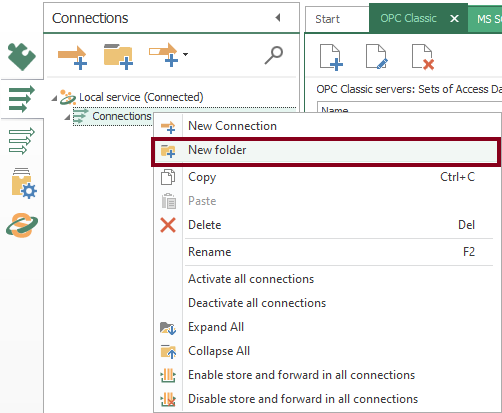
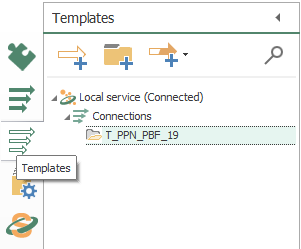
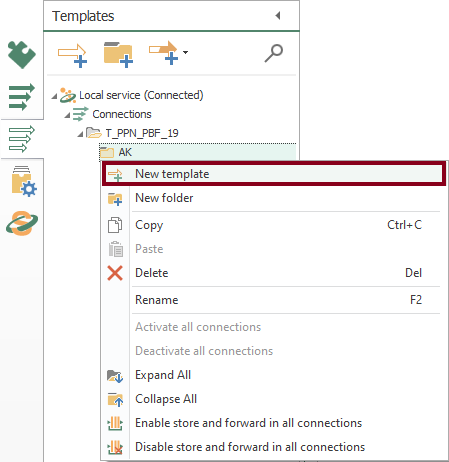
- Use folders to arrange your project better. For example, name T_PPN_PBF_19 to your main templates folder. Additionally, name PPN_PBF_19 to your main connections folder (enable a context menu with a right-click).
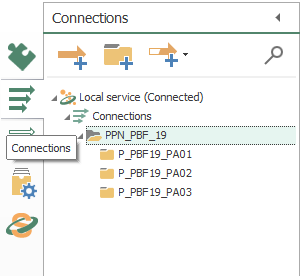
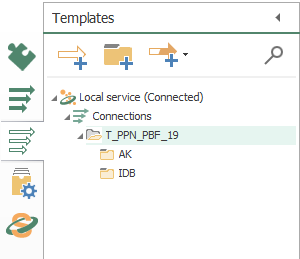
- In addition, create template subfolders “AK” and “IDB” for your Apache Kafka and INSERT database operations, and connections subfolders “PLN01”, “AK” and “IDB”.
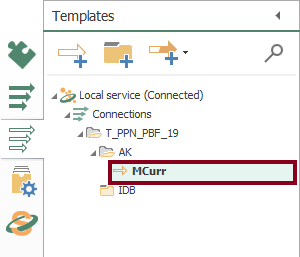
Creating your First Template
- Given that our use case prompts to multiple connections with the same structure, a template is the right approach to this problem. Initially, let’s create a new Apache Kafka template MCurr (VSD motor current):
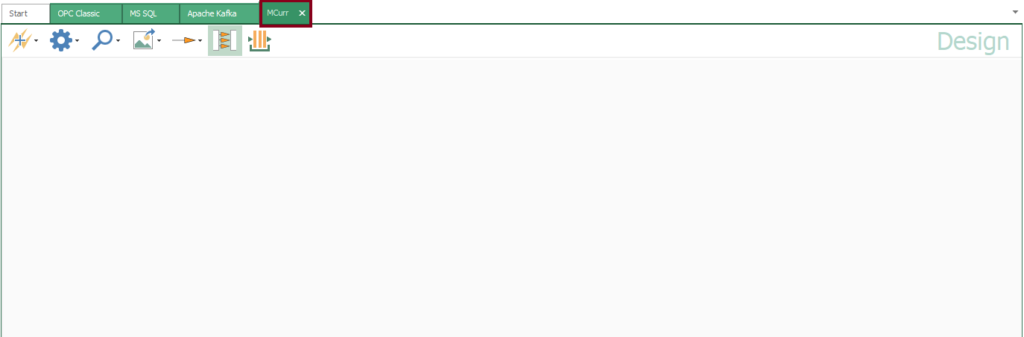
- Observe an empty design panel so you can start building your template:
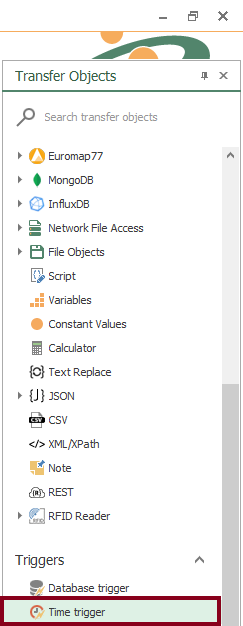
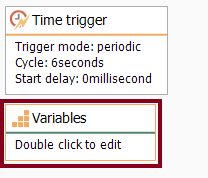
- First of all, insert a “Time trigger” block (drag and drop):
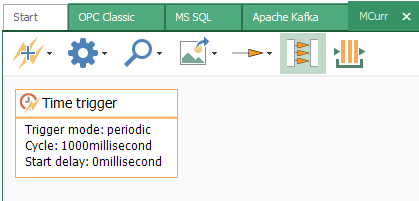
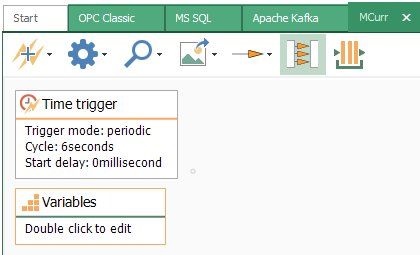
- Set a periodic transfer of 6 seconds (double click on block):

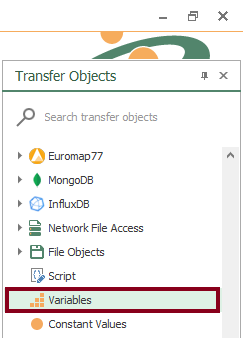
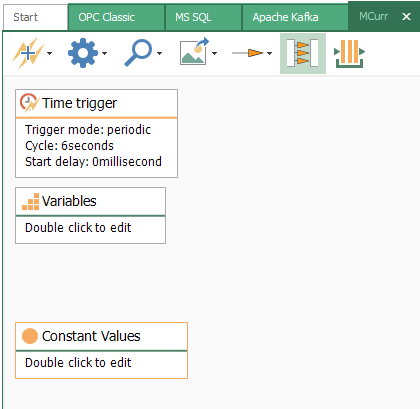
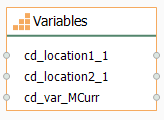
- Secondly, you need to use some variables:
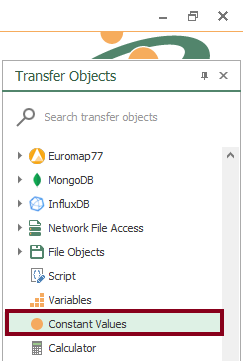
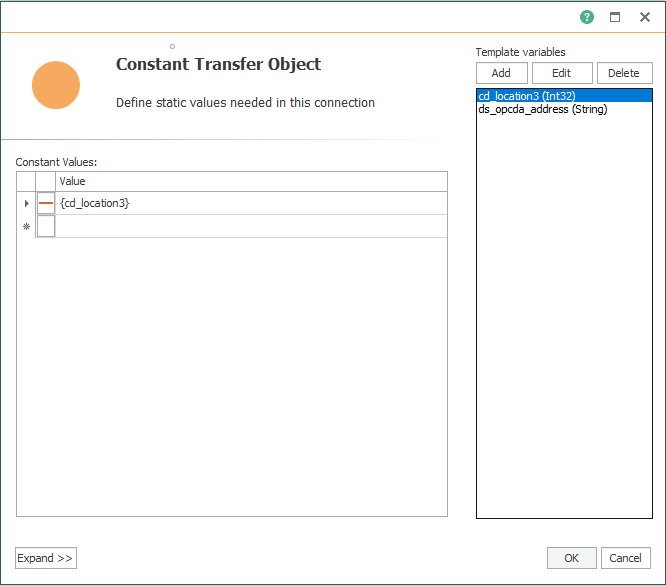
- Thirdly, you will use some constant values:
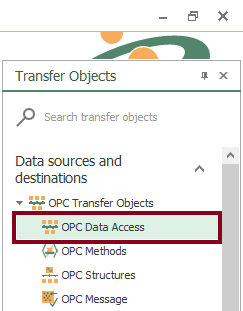
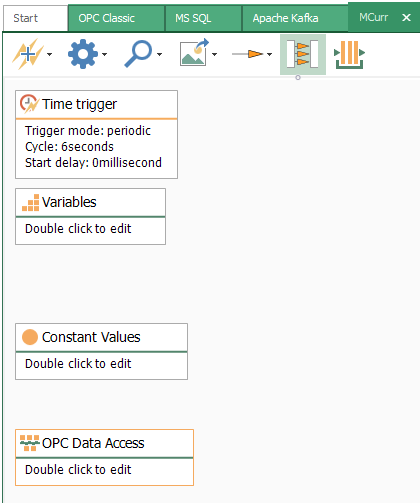
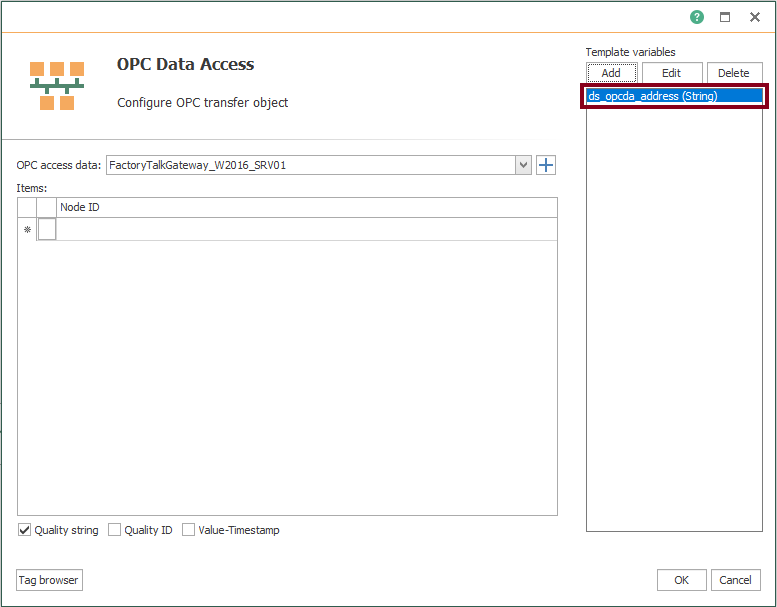
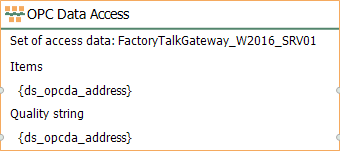
- Also, you need to configure an OPC data access:
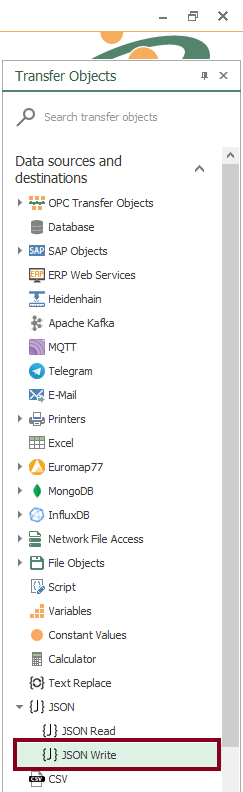
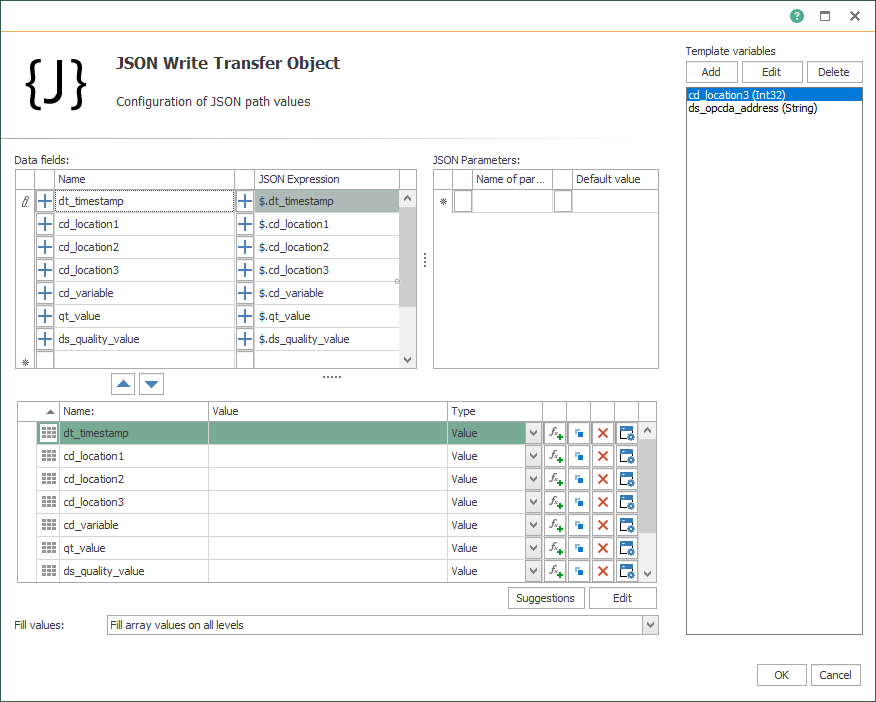
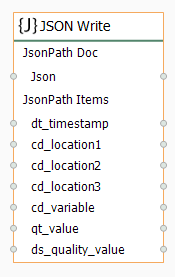
- Then, you must add a “JSON Write” block:

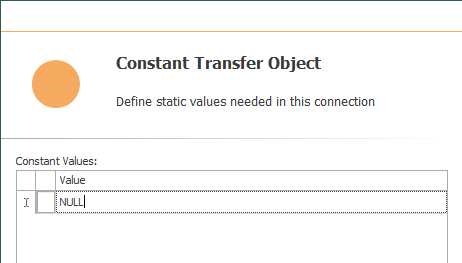
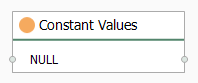
- Later, you must enter a new NULL constant value:
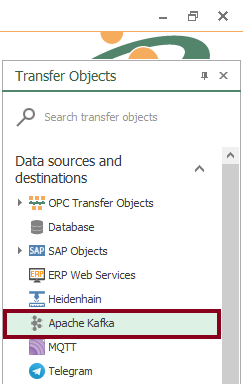
- Insert the Apache Kafka block:

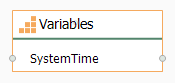
- At this point, you must include the system time as a variable:
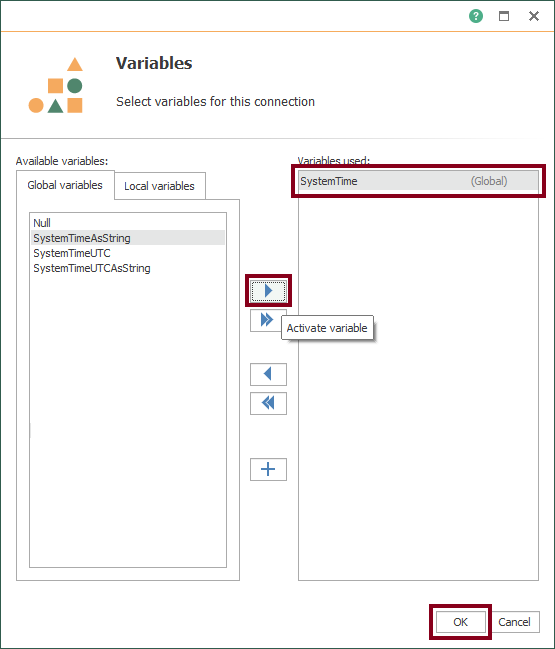
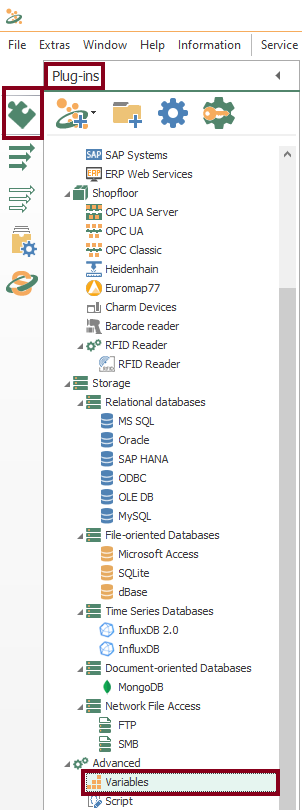
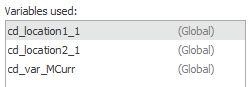
- To see global and local variables, go to “Plug-ins” and then, select “Variables”:
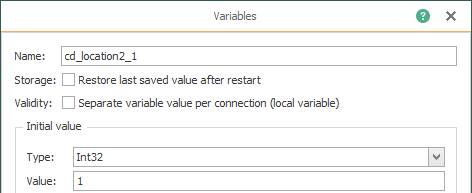
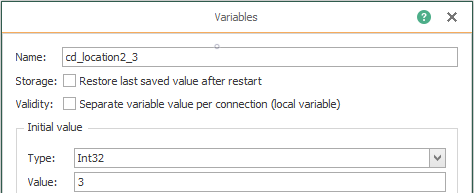
- Next, create the following “location” global variables:

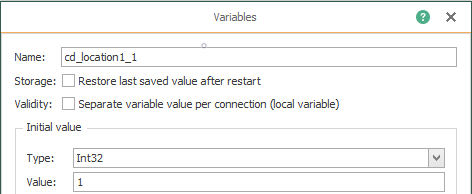

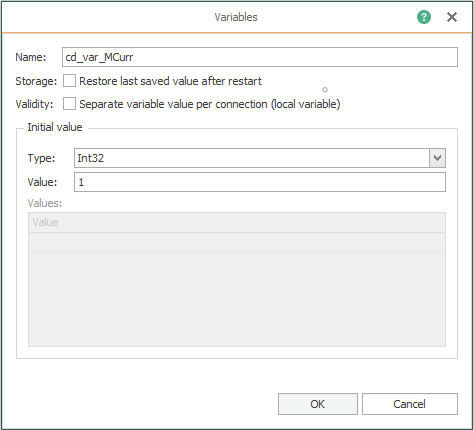
- Also, create the code that identifies the MCurr variable:
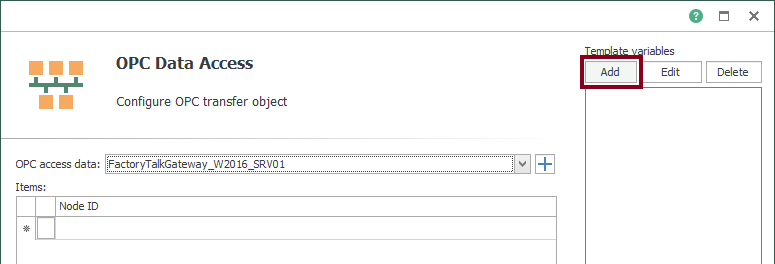
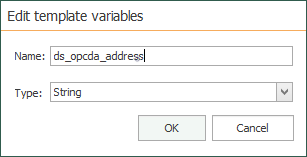
- Additionally, you must add some template variables. Firstly, for OPC Data Access:
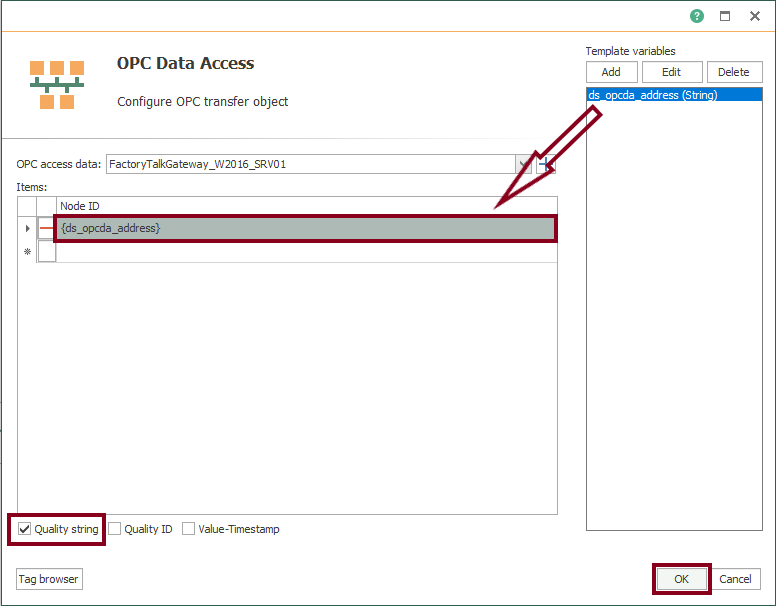
- Add a path to the OPC item:
- Configure some global variables:
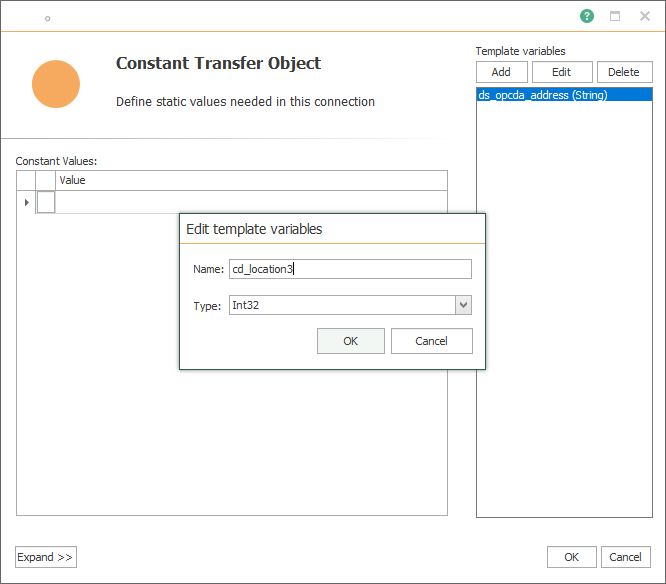
- Secondly, you must add a template variable as constant value for final location:
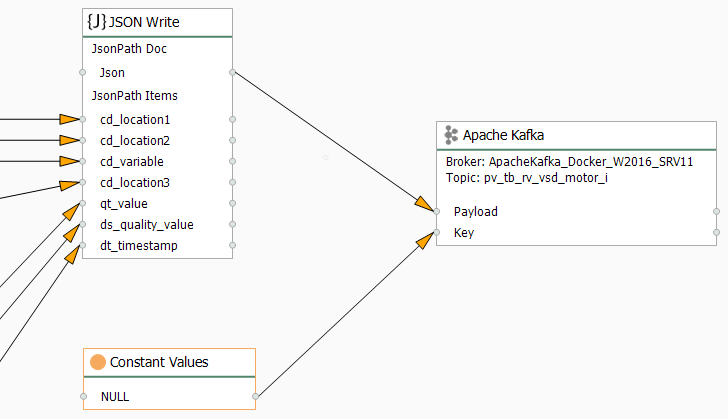
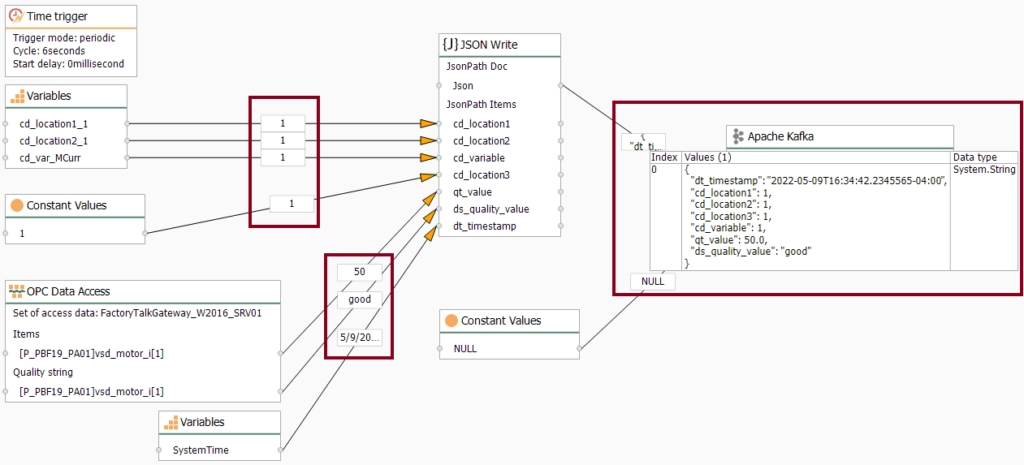
- Following this, configure the “JSON Write” block:
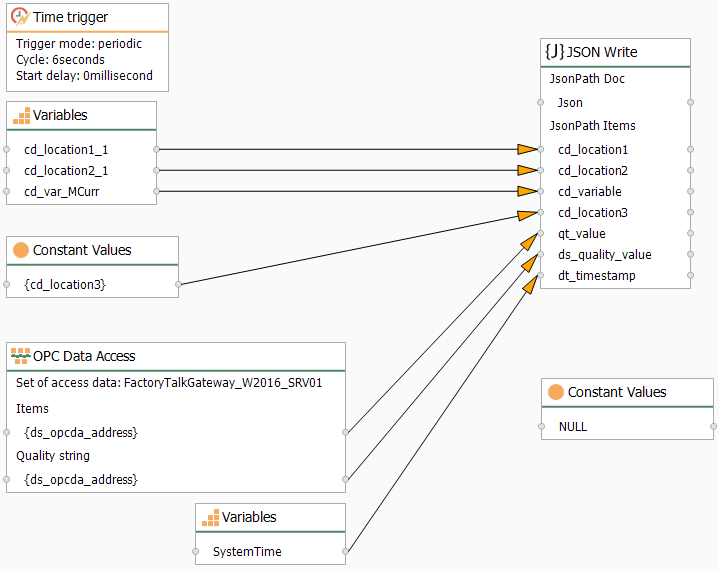
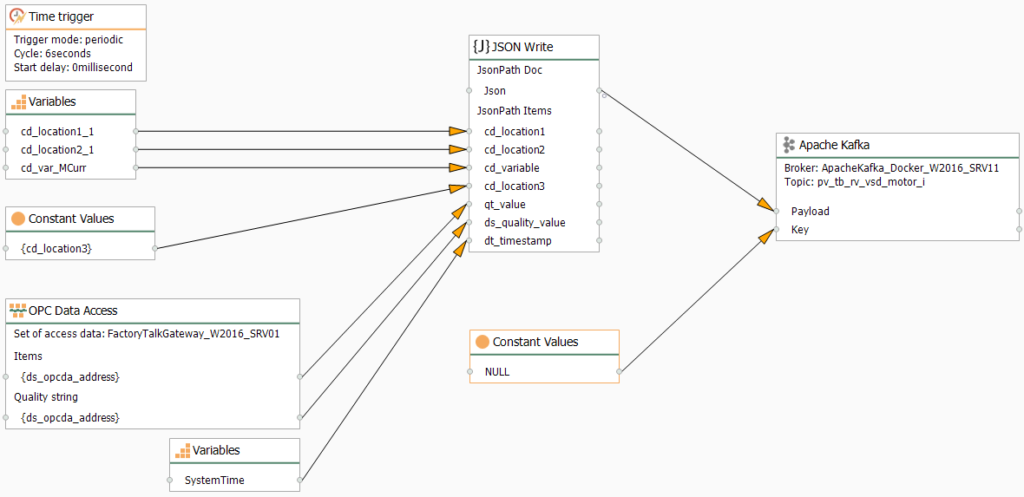
- Make sure to link blocks as shown here:
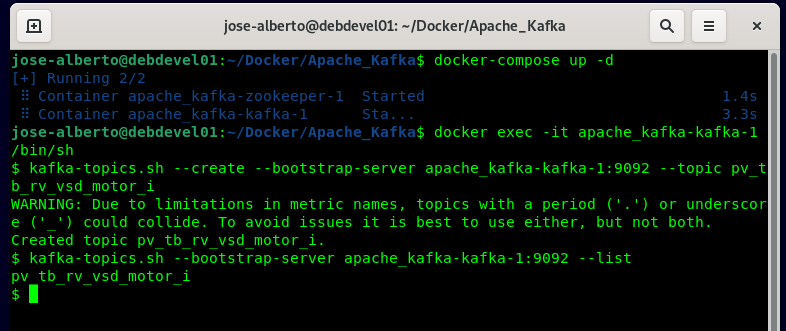
- Also, verify your Docker container with Apache Kafka installed and running:
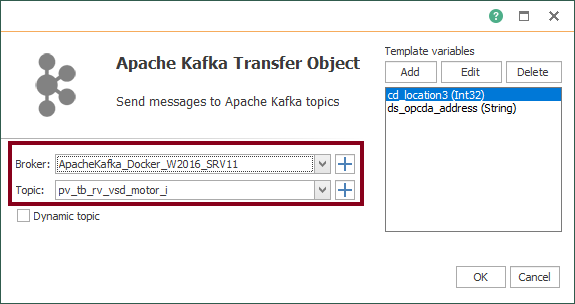
- Configure your Apache Kafka transfer object:
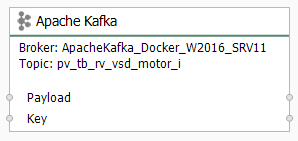
- Link it to the JSON Write transfer object and the NULL constant value:
- Your first completed template is shown here:
Working with Instances from Templates
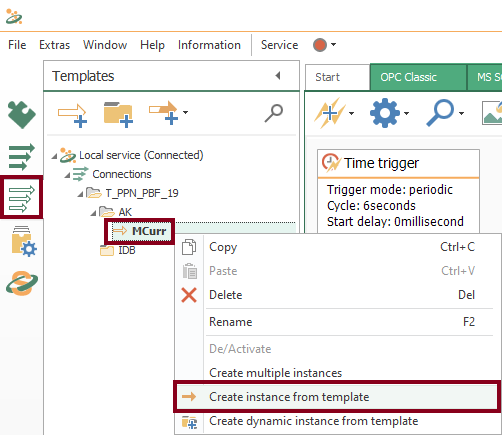
- With your first template, an instance is required now. Start creating it using the contextual menu:
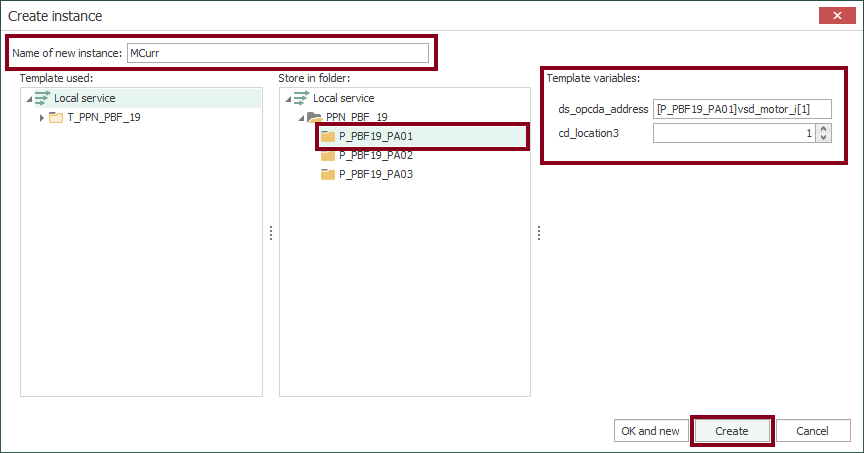
- Check the new instance:
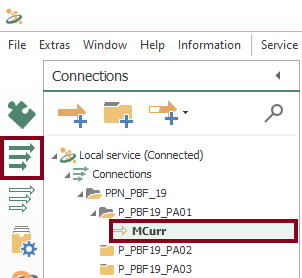
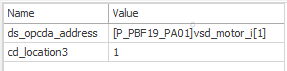
- In the design panel, double click to update values in template variables according to actual OPC item and location:

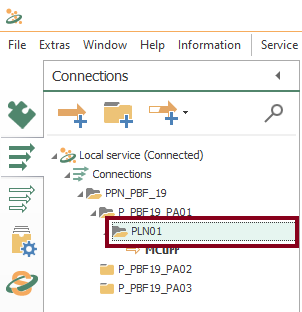
- Make sure to create folder PLN01 within P_PBF19_PA01 for MCurr:
Compile, Save and Publish your OPC Router Project Configuration
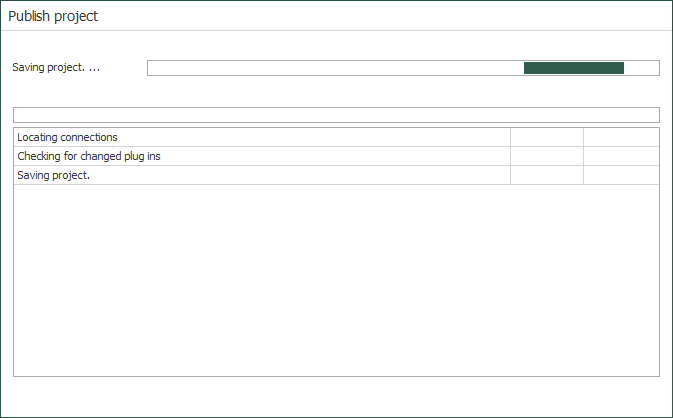
- At this time, you need to compile, save and publish the connection you just created by clicking the “Go productive” button:
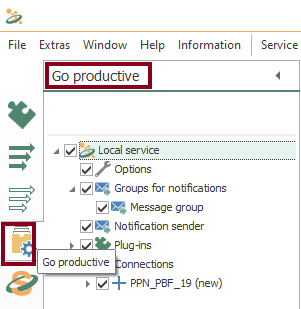


- Meanwhile, the project is saved and published.
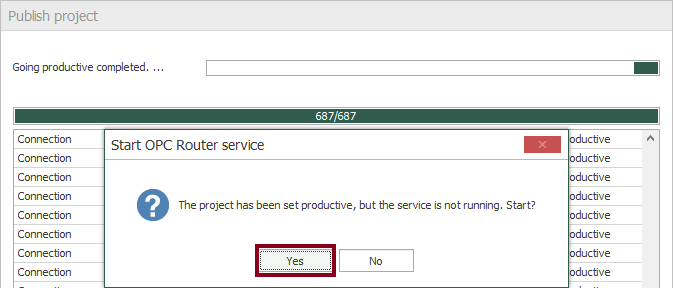
- Press the “Yes” button to start the OPC Router service and run your application.
Check Compiled Connection State
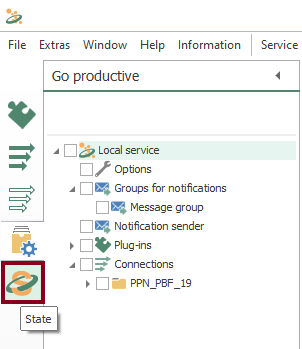
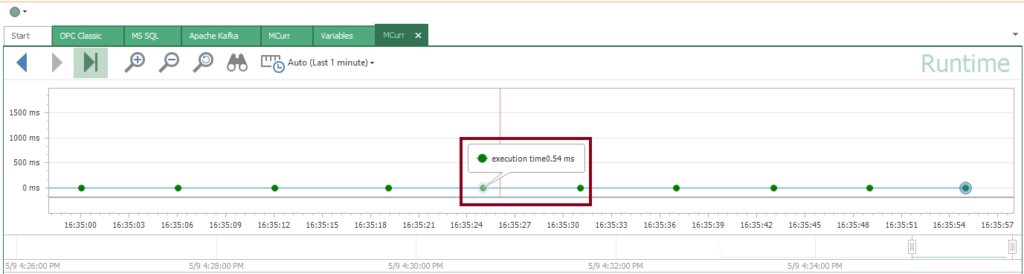
- Finally, you should check the state of your compiled connection by pressing the “State” button:
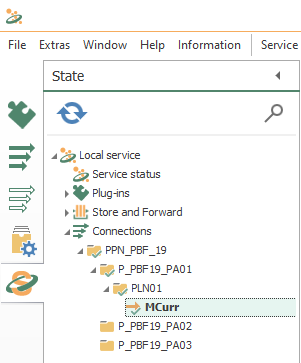
- You should notice an execution time visually (it’s 0.54 milliseconds in this example):
Visualize Online Values
- Also, you can watch live values here:
Verify Data Transfer to Apache Kafka
- Additionally, you can verify data transfer within the Apache Kafka container by running:


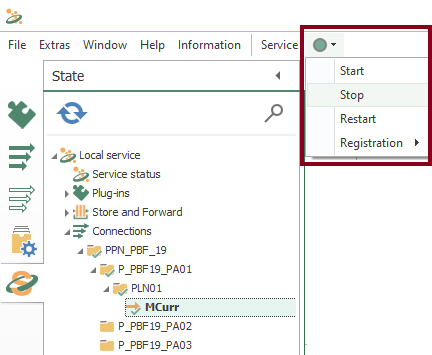
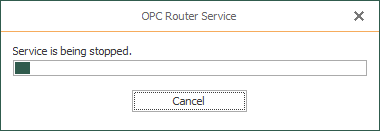
Control OPC Router service
- You are able to start, stop or restart the OPC Router service, when needed.
Stay tuned and follow part 2 of this tutorial! 😎
For other articles like this one in English, click here. To see them in Spanish, click here.
Excelente post, buen nivel de detalle, gracias por compartirlo!!
Muchas gracias a tí por tus palabras. Espero que te haya gustado, aunque se ha demostrado que su lectura puede causar somnolencia 😆
Comments are closed.